- From the edit page view, click Add to Content then click Add Block.

- From the Add Block modal, select Icon and Text.

- The Add Icon and Text form will appear. Click the Select an icon: field.

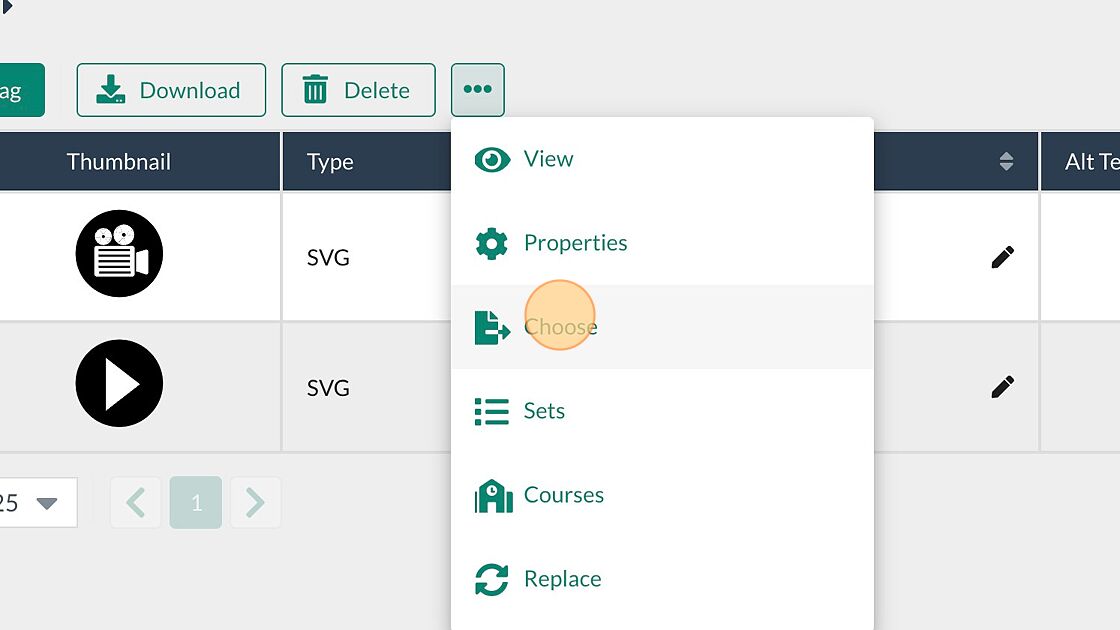
- The File Manager will appear displaying the icons associated with the course. Select the checkbox for the icon needed.

- Select Choose from the dropdown.

- Modify the Enter text: field as needed and then select the Add+ button.
Note: As in this example, some icons may have associated default text that will populate the Enter text: field. This text can be removed or changed as needed.
- The new block will now appear on the page in the edit page view. Select the Publish My Edits button to save the block.

- Once the changes are published and the edit page view is exited, the content will display as it will appear to learners.

Was this article helpful?
That’s Great!
Thank you for your feedback
Sorry! We couldn't be helpful
Thank you for your feedback
Feedback sent
We appreciate your effort and will try to fix the article