The Certificate block allows content creators to design and issue a custom certificate of completion to learners. Content creators can upload their own certificate image and customize up to three lines of text, with the learner's name and completion date automatically inserted. Certificates can be created using Canva or built by a graphic design team following the block's image specifications.
If you would like to create your own certificate image, we suggest using a service such as Canva. We have created several Canva templates that can be used to get started.
Customization Tips
- Customize the background color
- Change the text to suit your needs
- Replace the Organization Name
- Replace the text in the middle, or delete it and add your own text using the Certificate block
- Leave room for the student's name
To Export
- Click one of the following templates:

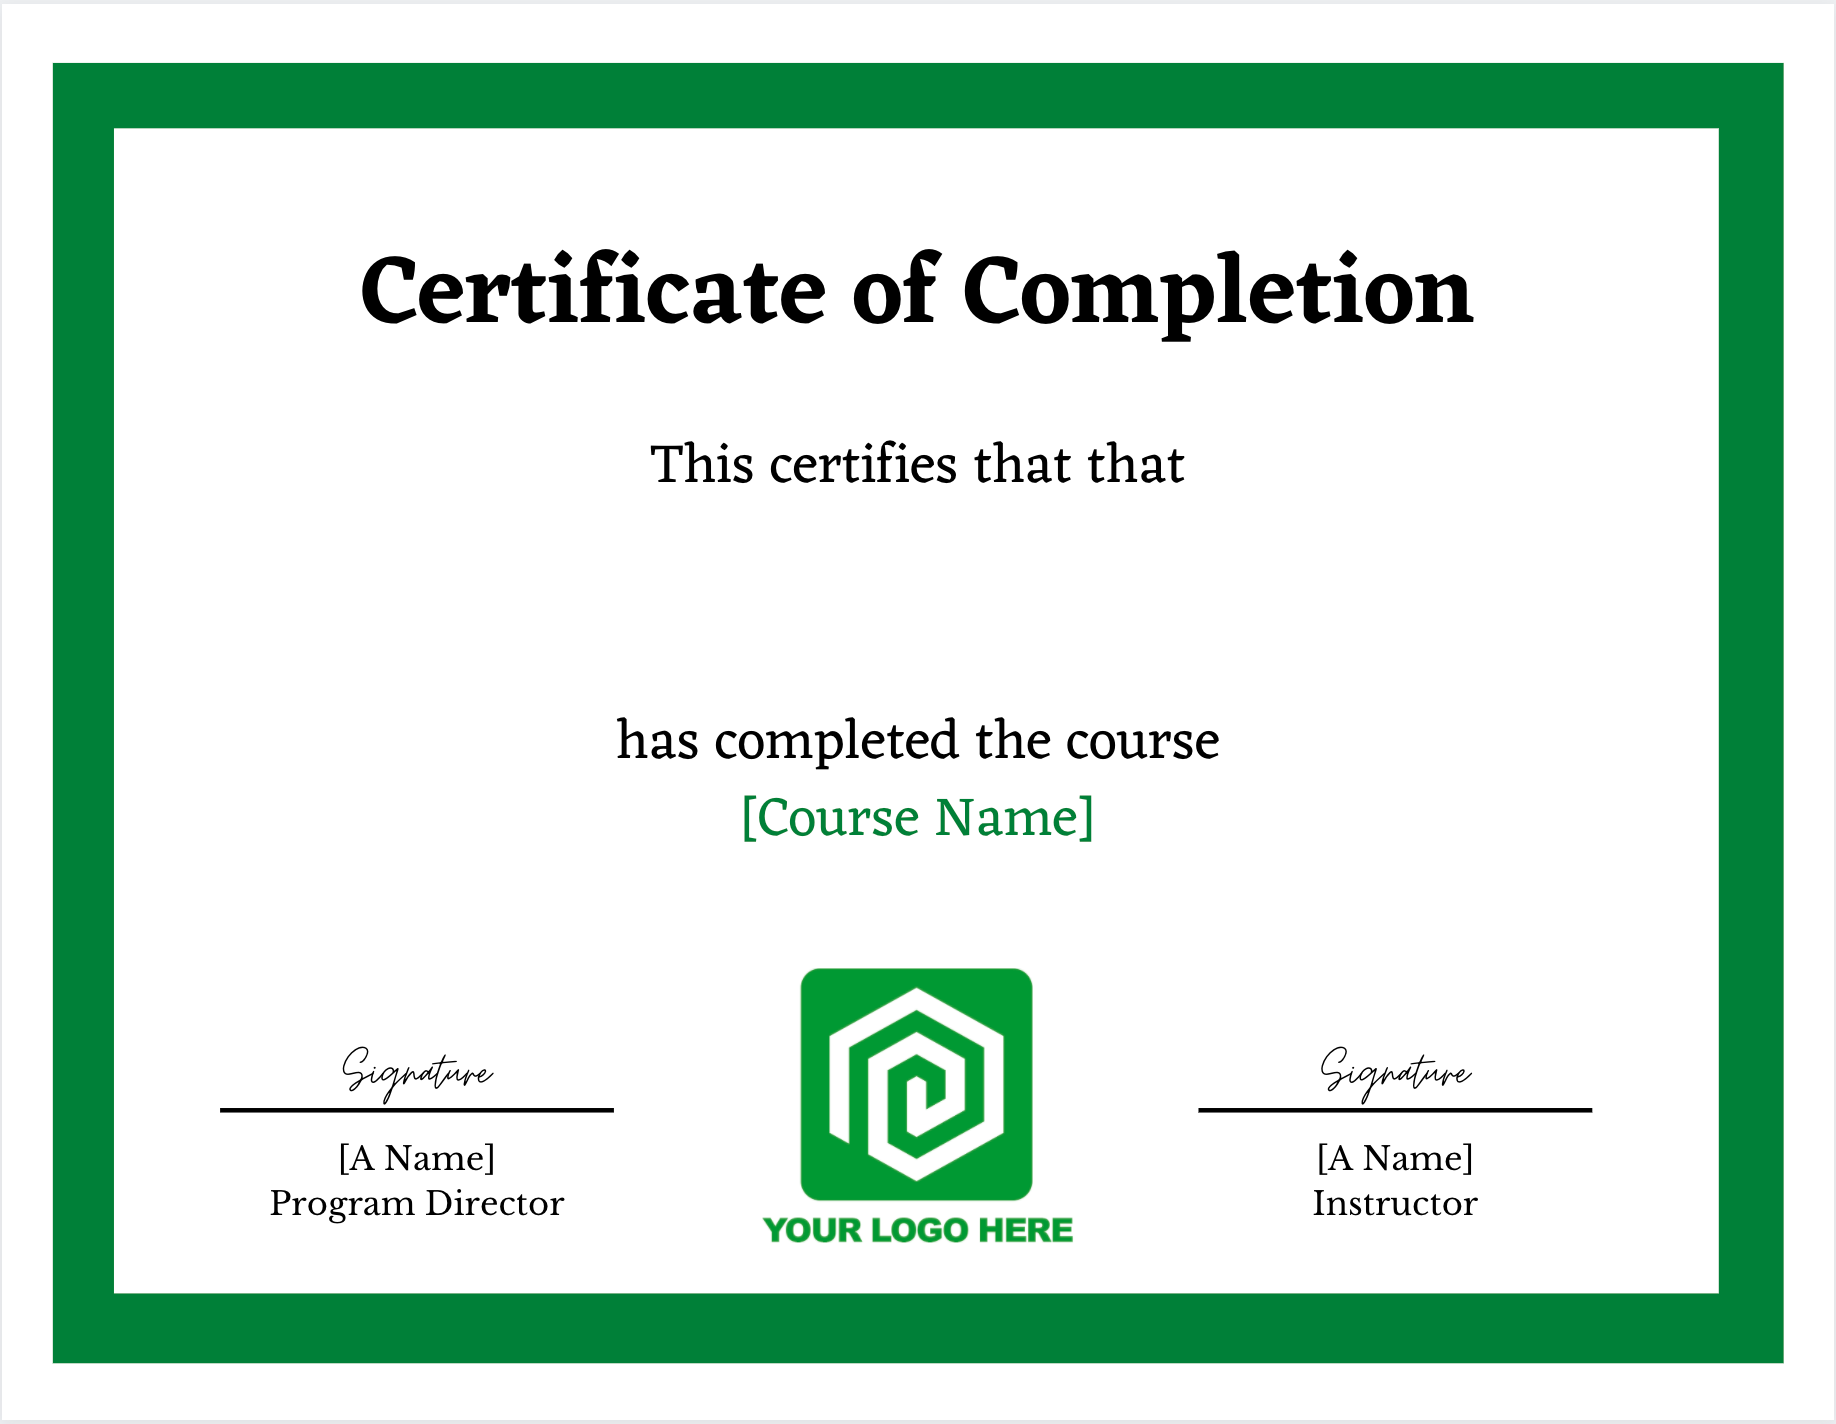
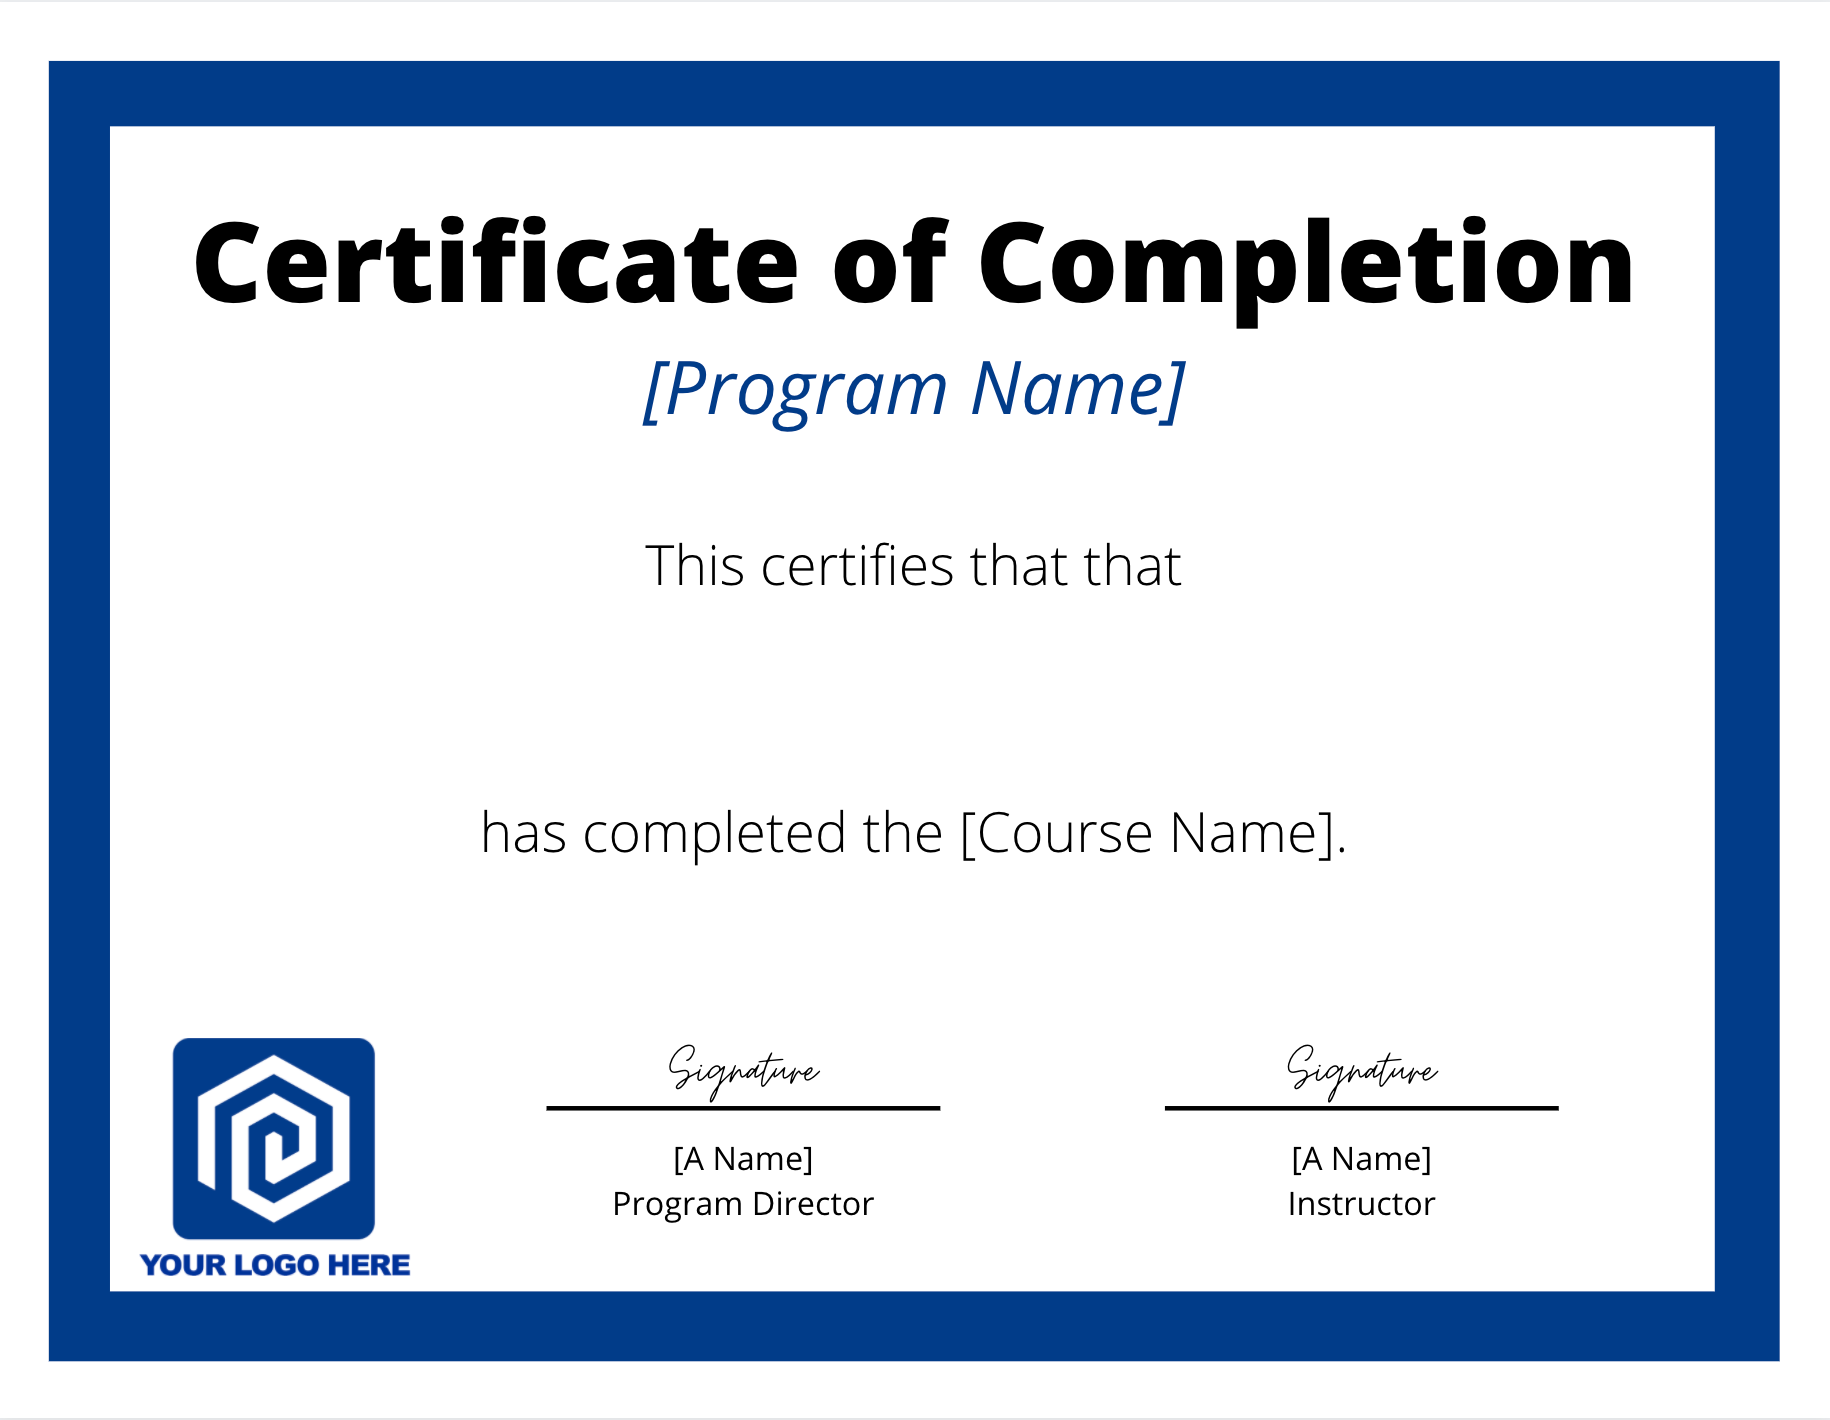
- Click Use Template in Canva. If you don't have a Canva account, you'll be prompted to create one or log in.
- In Canva, customize the text, graphics, and colors to fit your needs. Be sure to leave blank space where the student's name and date (optional) will go.
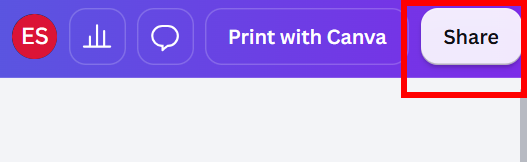
- Once you've finished your design, click the Share button in the top-right corner.
- Select the Download icon from the dropdown menu.
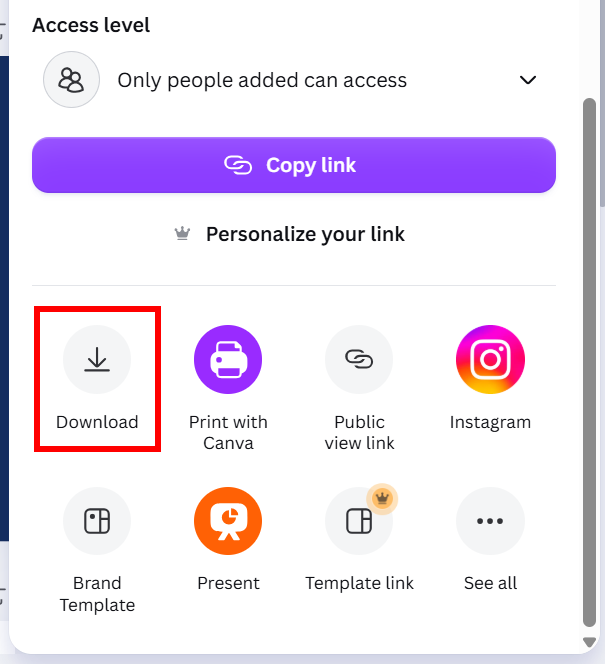
- Export your image with the following settings:
- File type: PNG
- Select pages: Page 1
- Click Download.
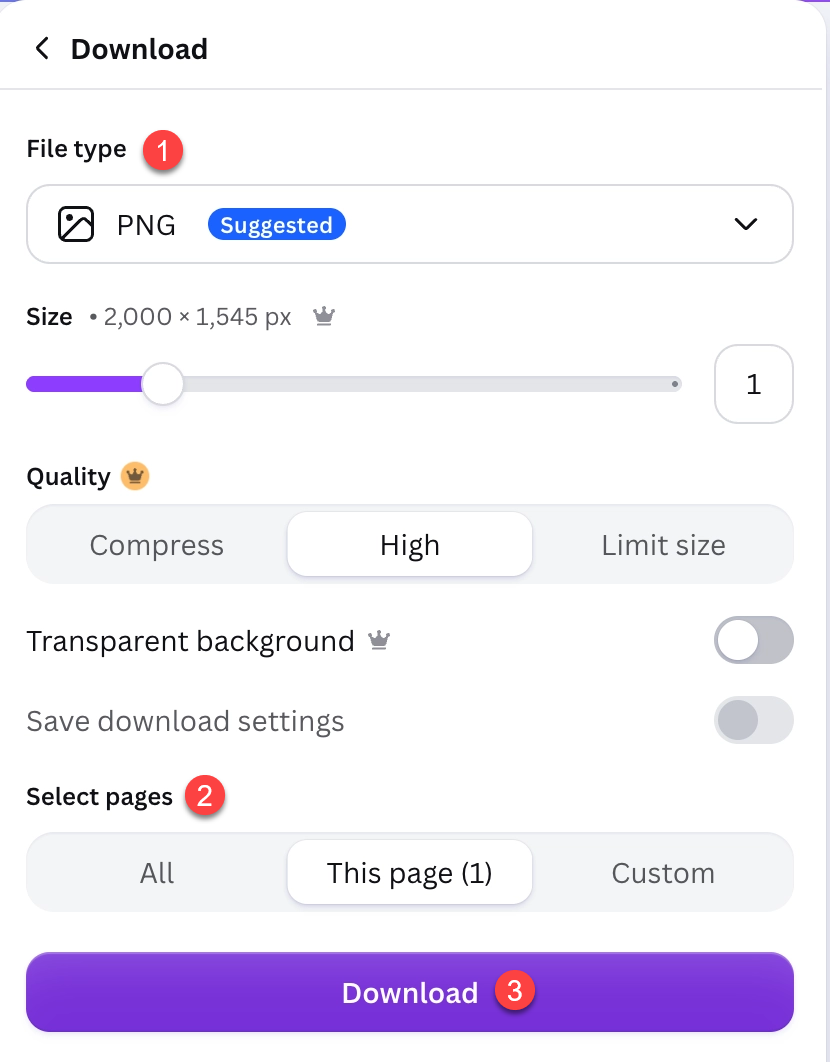
- Take note of where the image file is saved so it can be uploaded to the CourseArc File Manager and made available for importing into the Certificate block.
Tip: When uploading your certificate image to the File Manager, add descriptive alt text (for example, "Certificate of Completion for [Course Name]") so the certificate is accessible to learners using screen readers.
Specifications for Graphic Designers
If you have access to a graphic design team, use the following specifications:
- Any image with an aspect ratio of 22:17 can be used—for example, 3300x2550 or 1684x1301 pixels.
- The block allows a content creator to customize up to three lines of text. A name and date are automatically inserted into the block.
- The image should include blank space for the student's name and a date (optional).
- Since many browsers and printers add white spacing around the certificate, it's best to design the certificate with white borders.
- By default, all text is centered and appears black, but the content creator may add a CSS class to the certificate to further customize its look and feel.
- For example, a CourseArc designer could add a class of custom-certificate into the theme or globally on the Design Options page.
- To style all certificates using the custom-certificate class, add styles for line1, line2, line3, name, and date.
/* Customize your fonts, alignment, colors, etc. here */
.custom-certificate .line1 { }
.custom-certificate .line2 { }
.custom-certificate .line3 { }
.custom-certificate .name { }
.custom-certificate .date { }
Was this article helpful?
That’s Great!
Thank you for your feedback
Sorry! We couldn't be helpful
Thank you for your feedback
Feedback sent
We appreciate your effort and will try to fix the article