The Checklist block lets content creators build interactive task lists for learners to complete. Learners can check and uncheck items at their own pace, making it easy to track progress through multi-step tasks or requirements. Grading can be configured as no grading, participation, or percentage.
- Navigate to the page and select Edit this Page. Find the position you want to add a block and select the plus (+) icon.

- From the dropdown, select Add Block.

- In the Add Block modal, either:
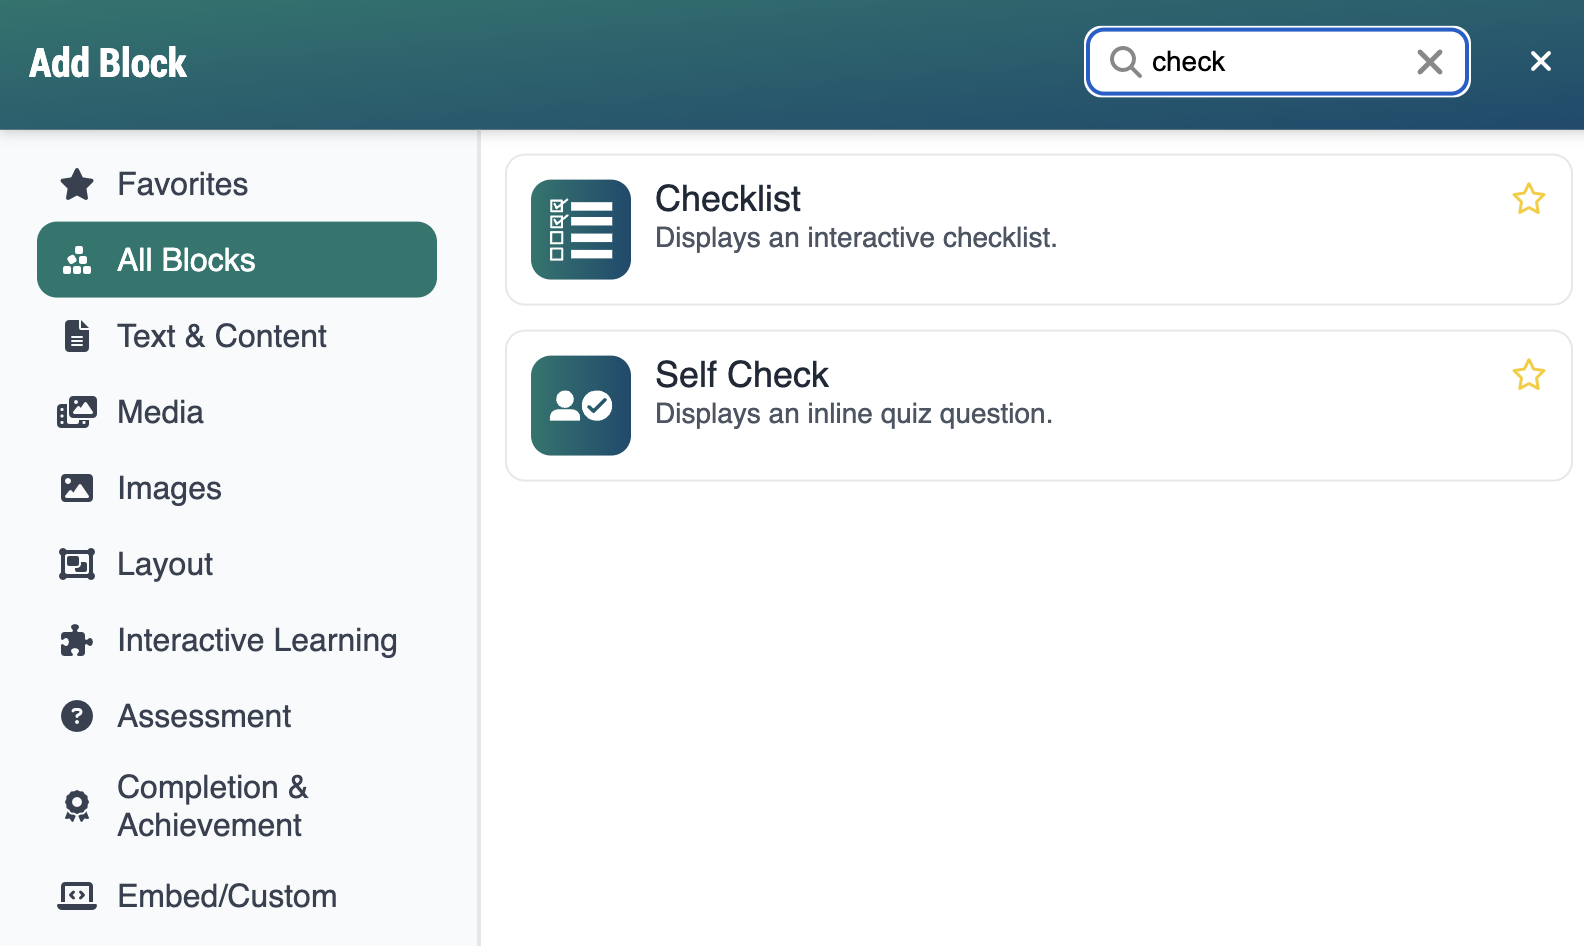
- Use the Search field to find a block by keyword
- Select a block from your custom list of Favorites
- Scroll through the list of All Blocks to select one
- Use the various Categories to filter by block type
- Select a star icon to add or remove blocks in your Favorites list
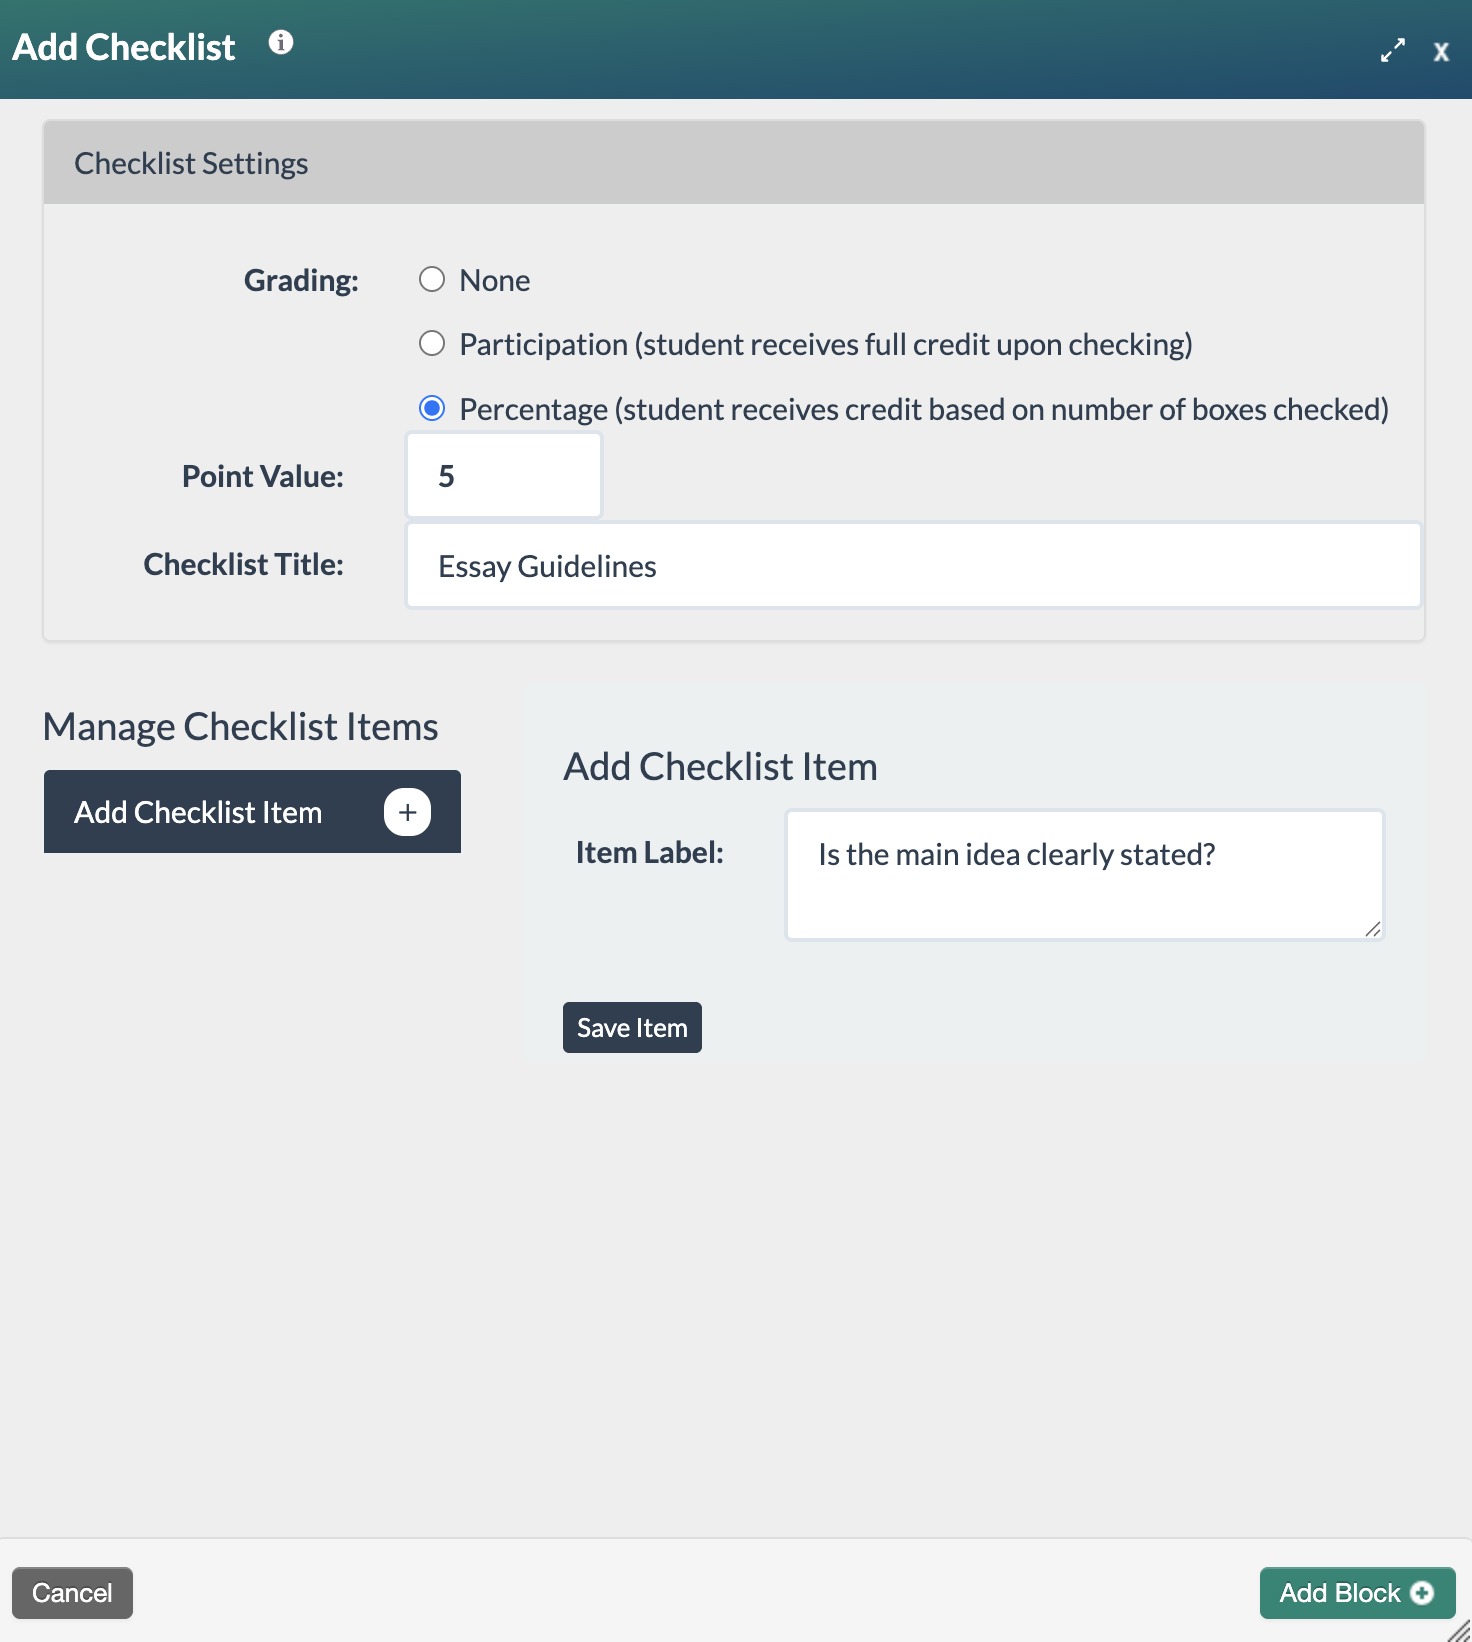
- Select the Checklist block. The Add Checklist form will open. The form contains two sections—Checklist Settings and Manage Items.
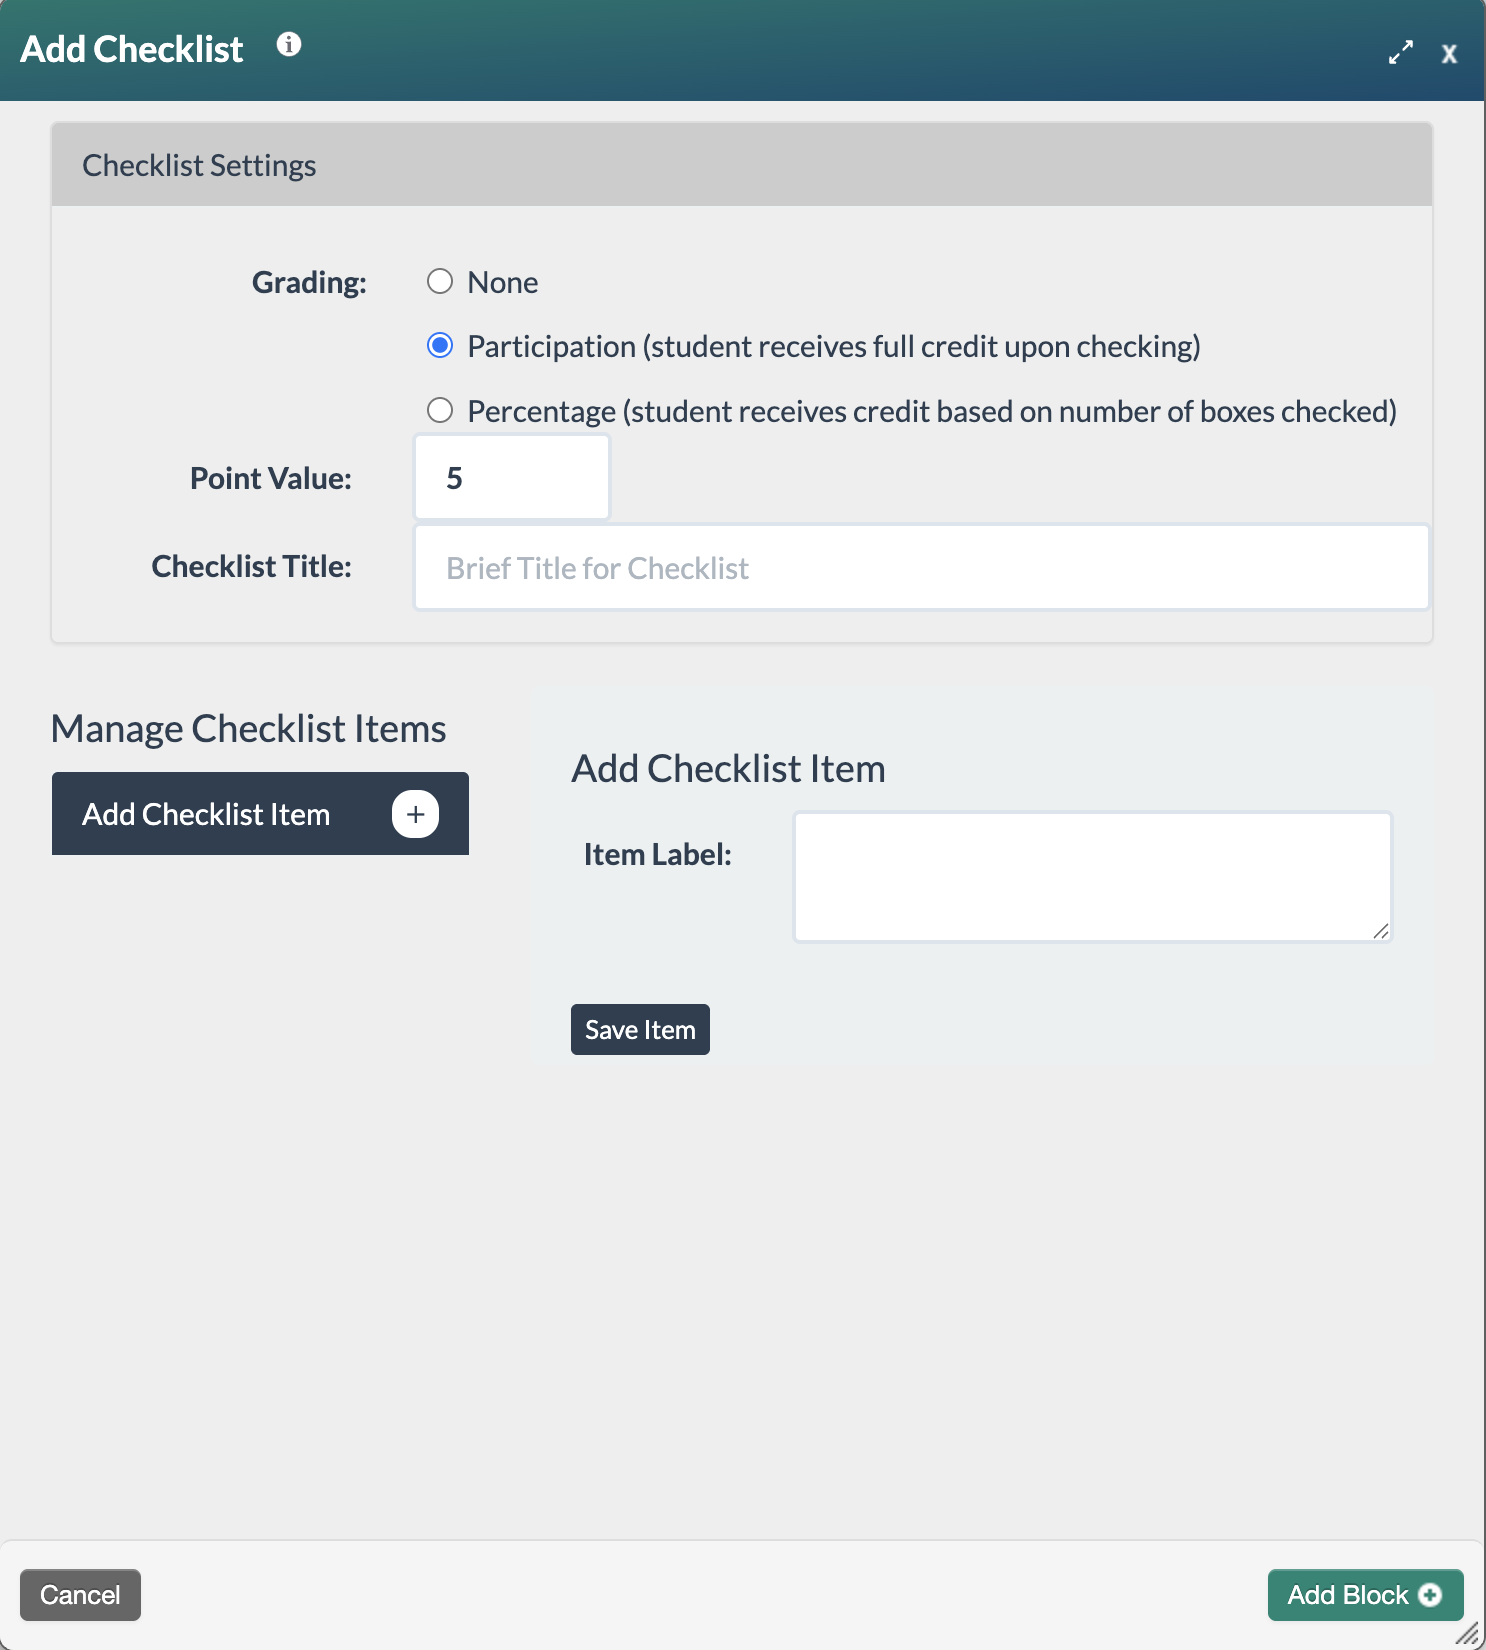
- Complete the Checklist Settings with the following information:
- Grading: Select how the activity will be graded:
- None—No points are awarded for the activity.
- Participation—The learner receives full points (as set in the Point Value field) upon completing any checklist item.
- Percentage—Point are awarded based on the proportion of items completed: (items completed ÷ total items) × point value.
- Point Value: Enter the number of points the activity is worth. This field only appears when the module is graded. The default value is 5.
- Title: Enter a custom title for the checklist. This title appears above the checklist items. The activity is visible to both learners and instructors on the Overview page and in the More Information area.
- Grading: Select how the activity will be graded:
- Enter a checklist item in the Item Label: field and select Save Item. Repeat until all items have been added.
- Once all the required sections have been saved, select the Add Block+ button to save the block to the page.

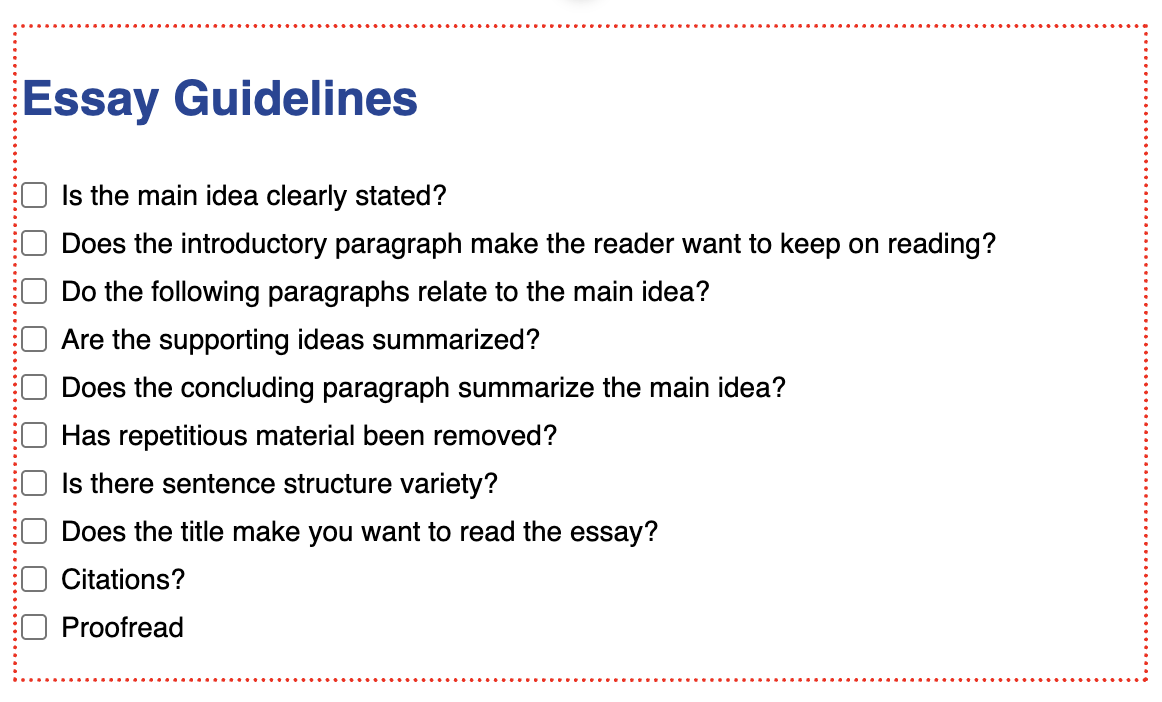
- The new block will appear on the page in Edit Mode with a red, dotted outline indicating it's editable.
- Select the Publish My Edits button to save the block to the course page and see the content as it will appear to learners.

Checklist paired with a writing activity
Was this article helpful?
That’s Great!
Thank you for your feedback
Sorry! We couldn't be helpful
Thank you for your feedback
Feedback sent
We appreciate your effort and will try to fix the article