Tables help organize and present structured data clearly, but poorly built tables can create barriers for learners using screen readers or other assistive technology. This article covers best practices for building accessible tables, including using proper headers and avoiding merged cells or layout tables that can confuse assistive technology.
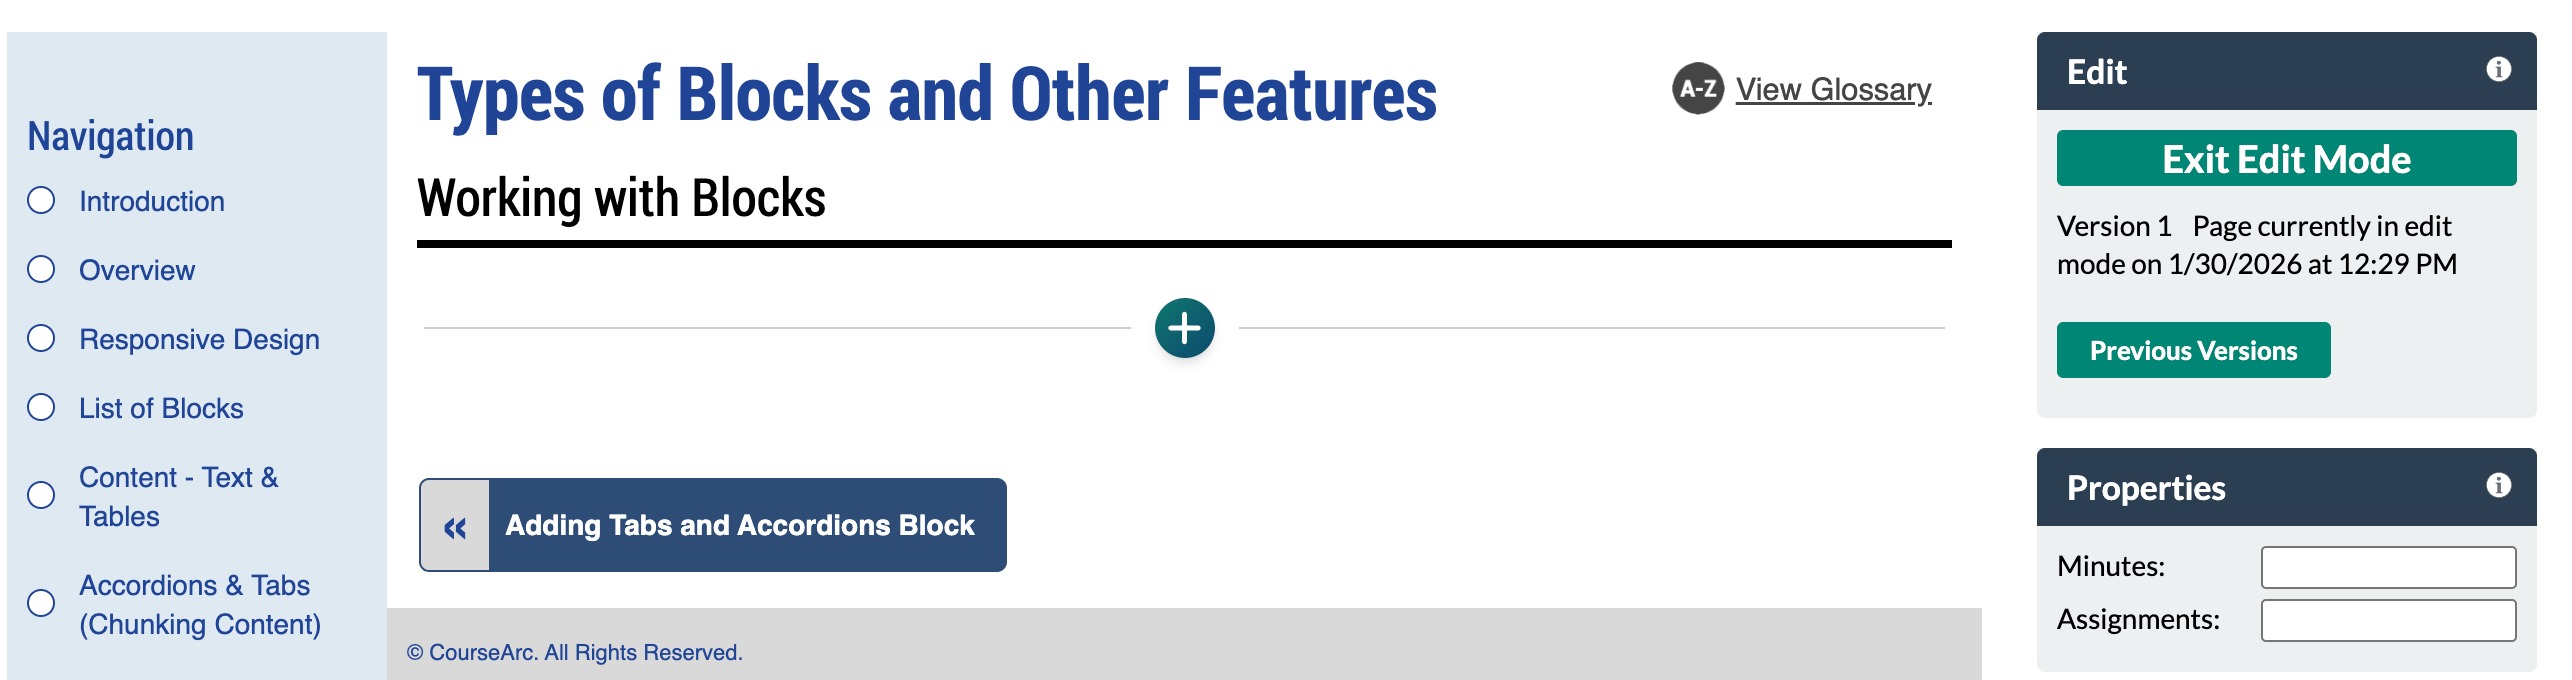
- Navigate to the page and select Edit this Page. Find the position where you want to add a block and select the plus (+) icon.
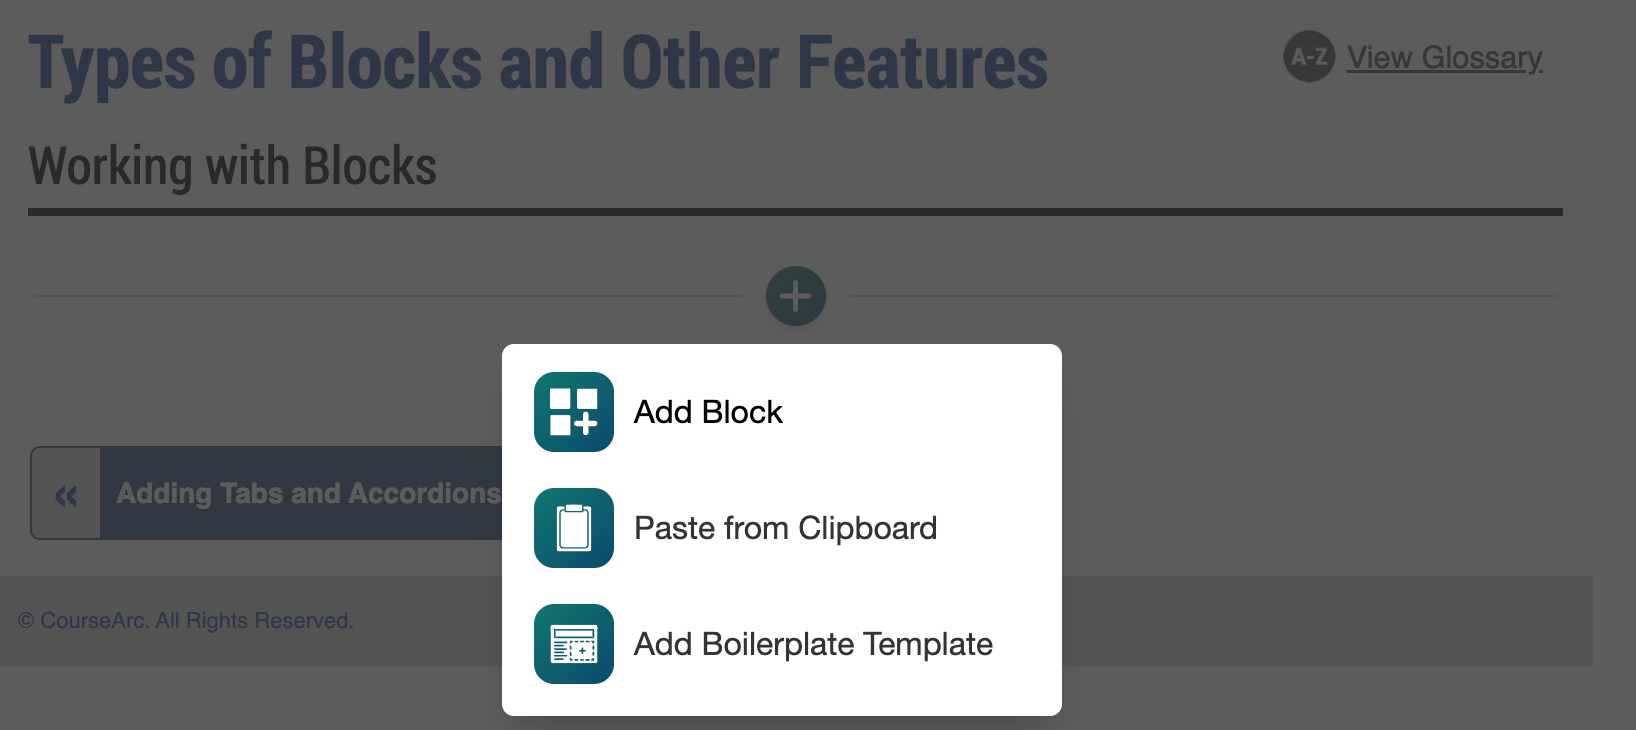
- From the dropdown, select Add Block.
- In the Add Block modal, either:
- Use the Search field to find a block by keyword
- Select a block from your custom list of Favorites
- Scroll through the list of All Blocks to select one
- Use the various Categories to filter by block type
- Select a star icon to add or remove blocks in your Favorites list
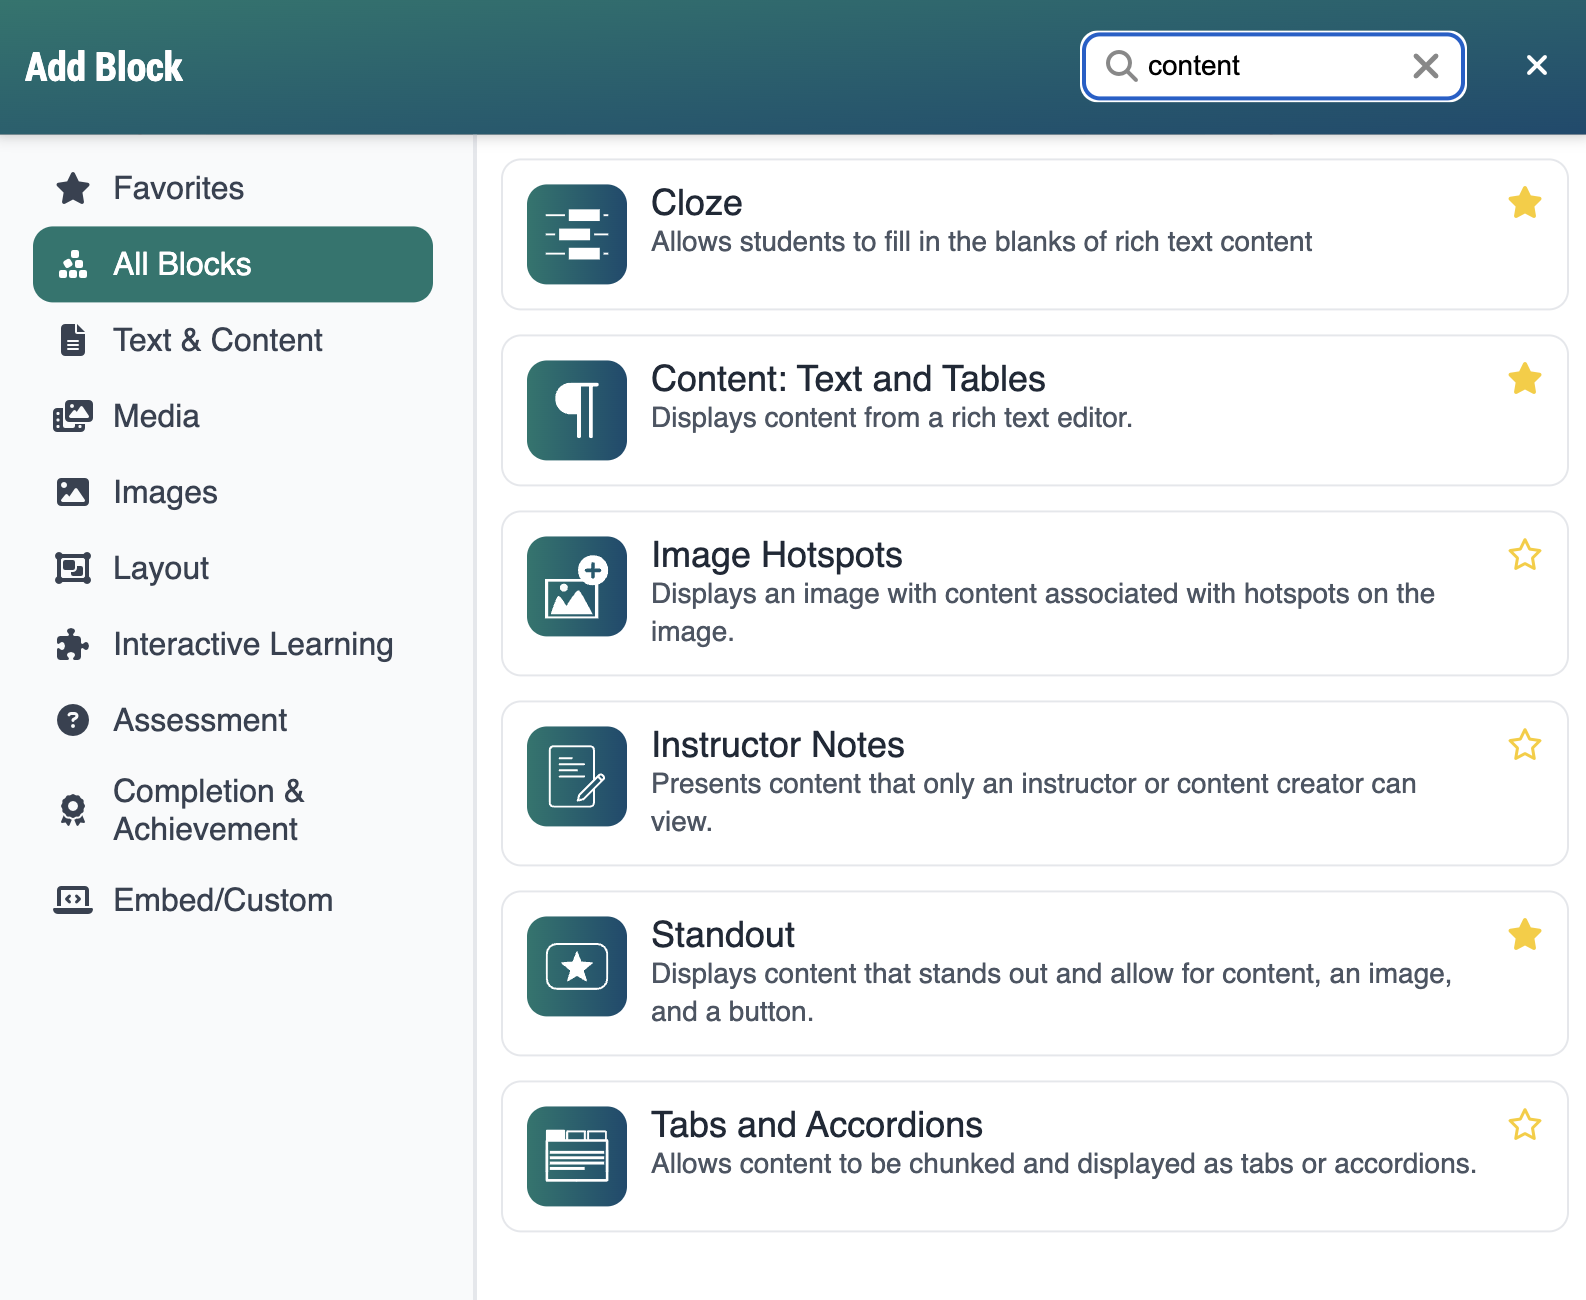
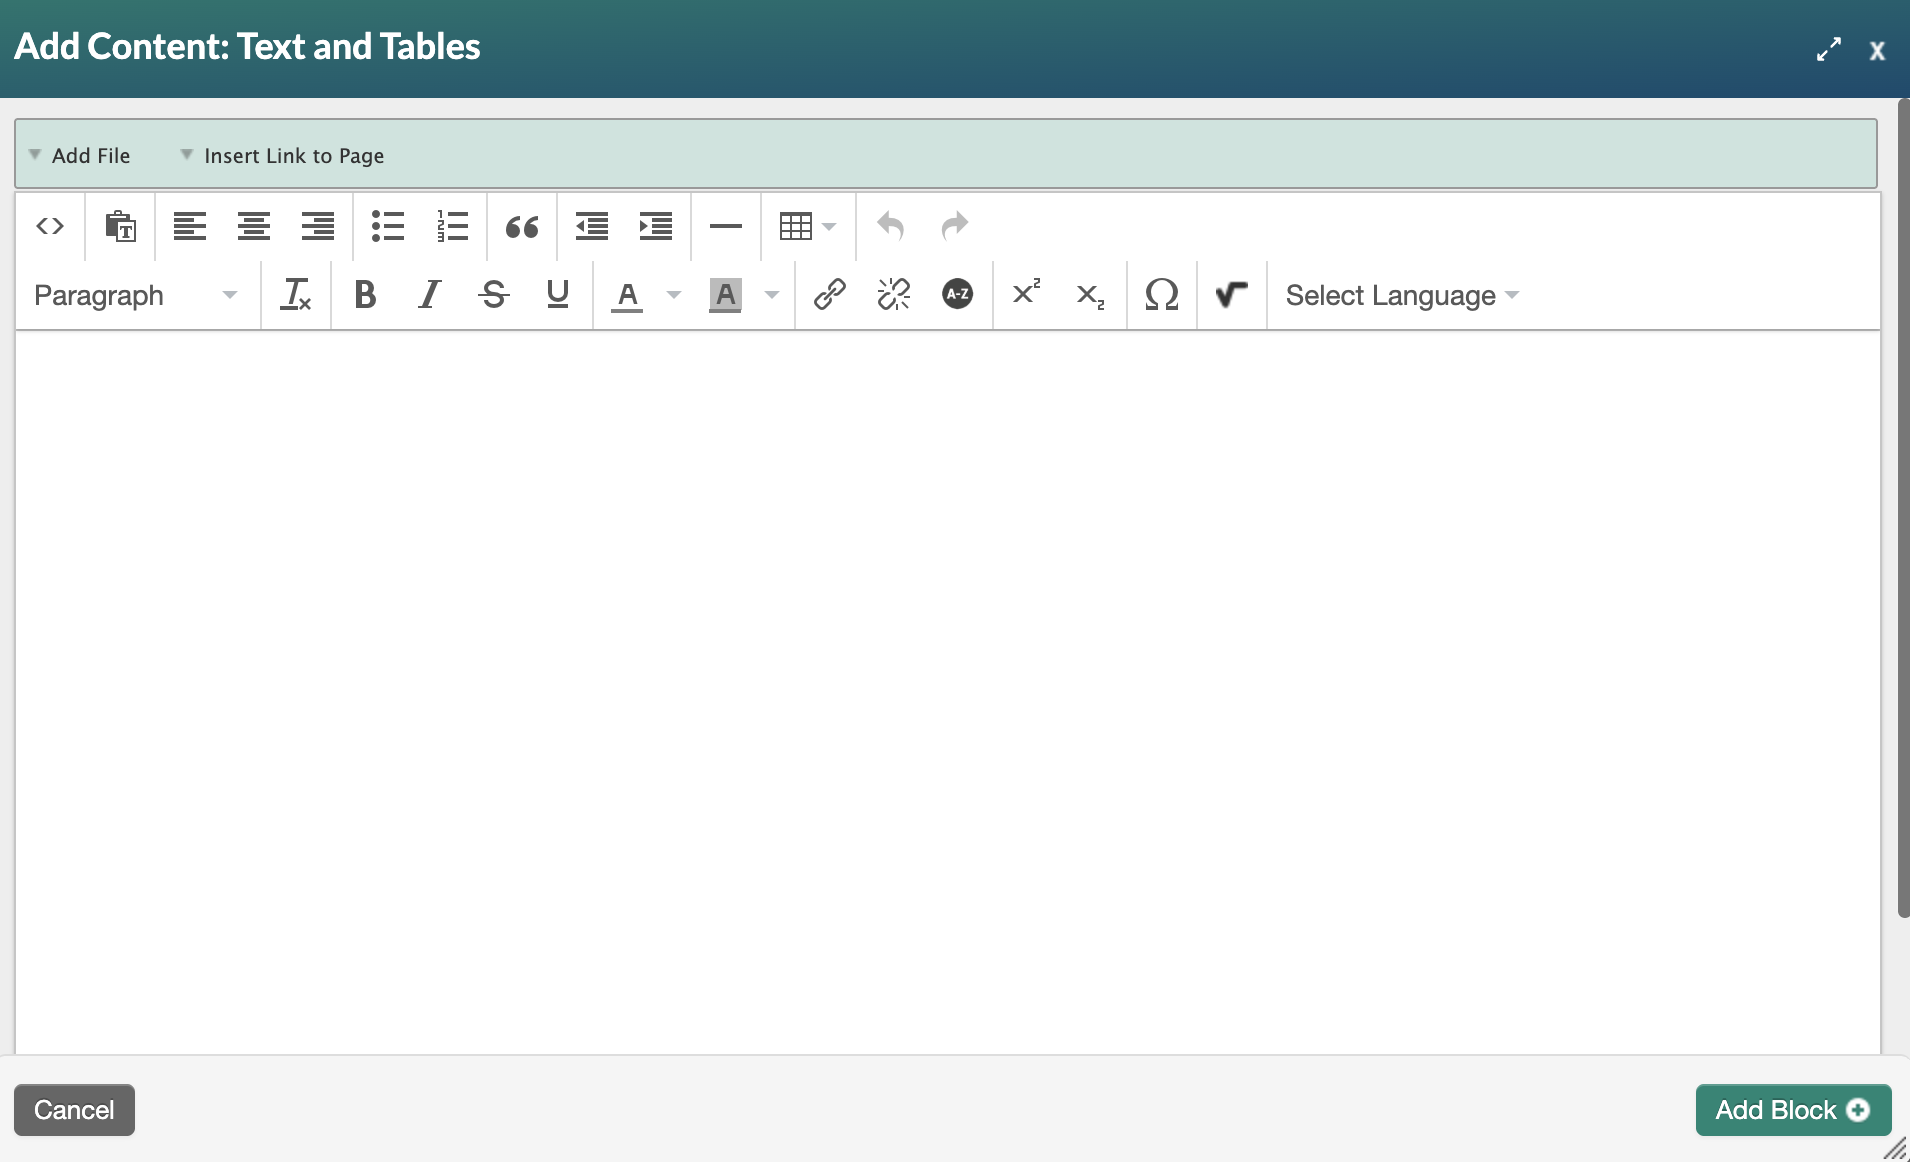
- Select the Content: Text and Tables block. The Content: Text and Tables editor will open.
Add a Table
Complete these steps to add a table and ensure your table is accessible for all of your learners.
- Click the table icon and select the grid size for the table from the Table dropdown.
Note: The table grid size may be modified at any time.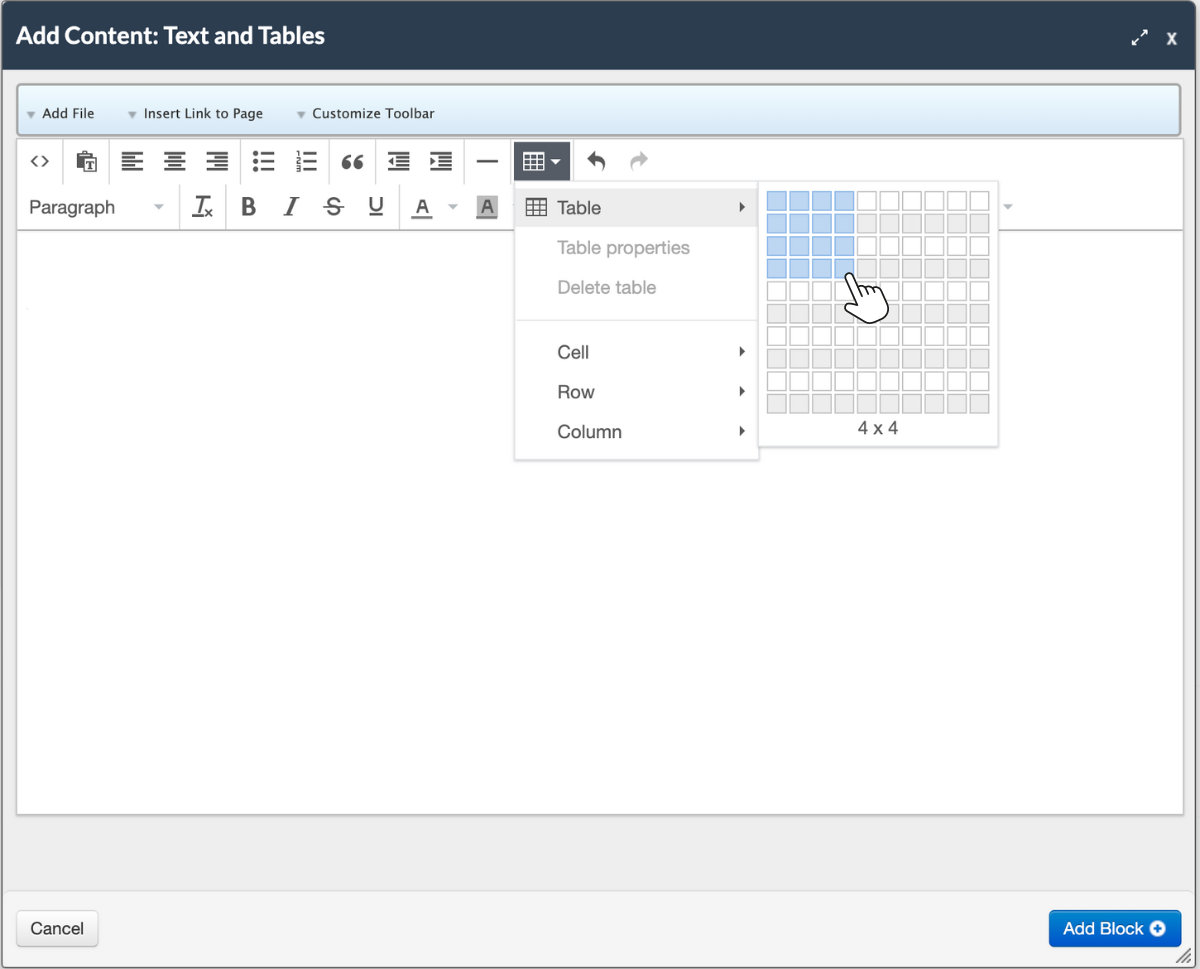
- Add content to the table by placing the cursor into a table cell and entering the required text.
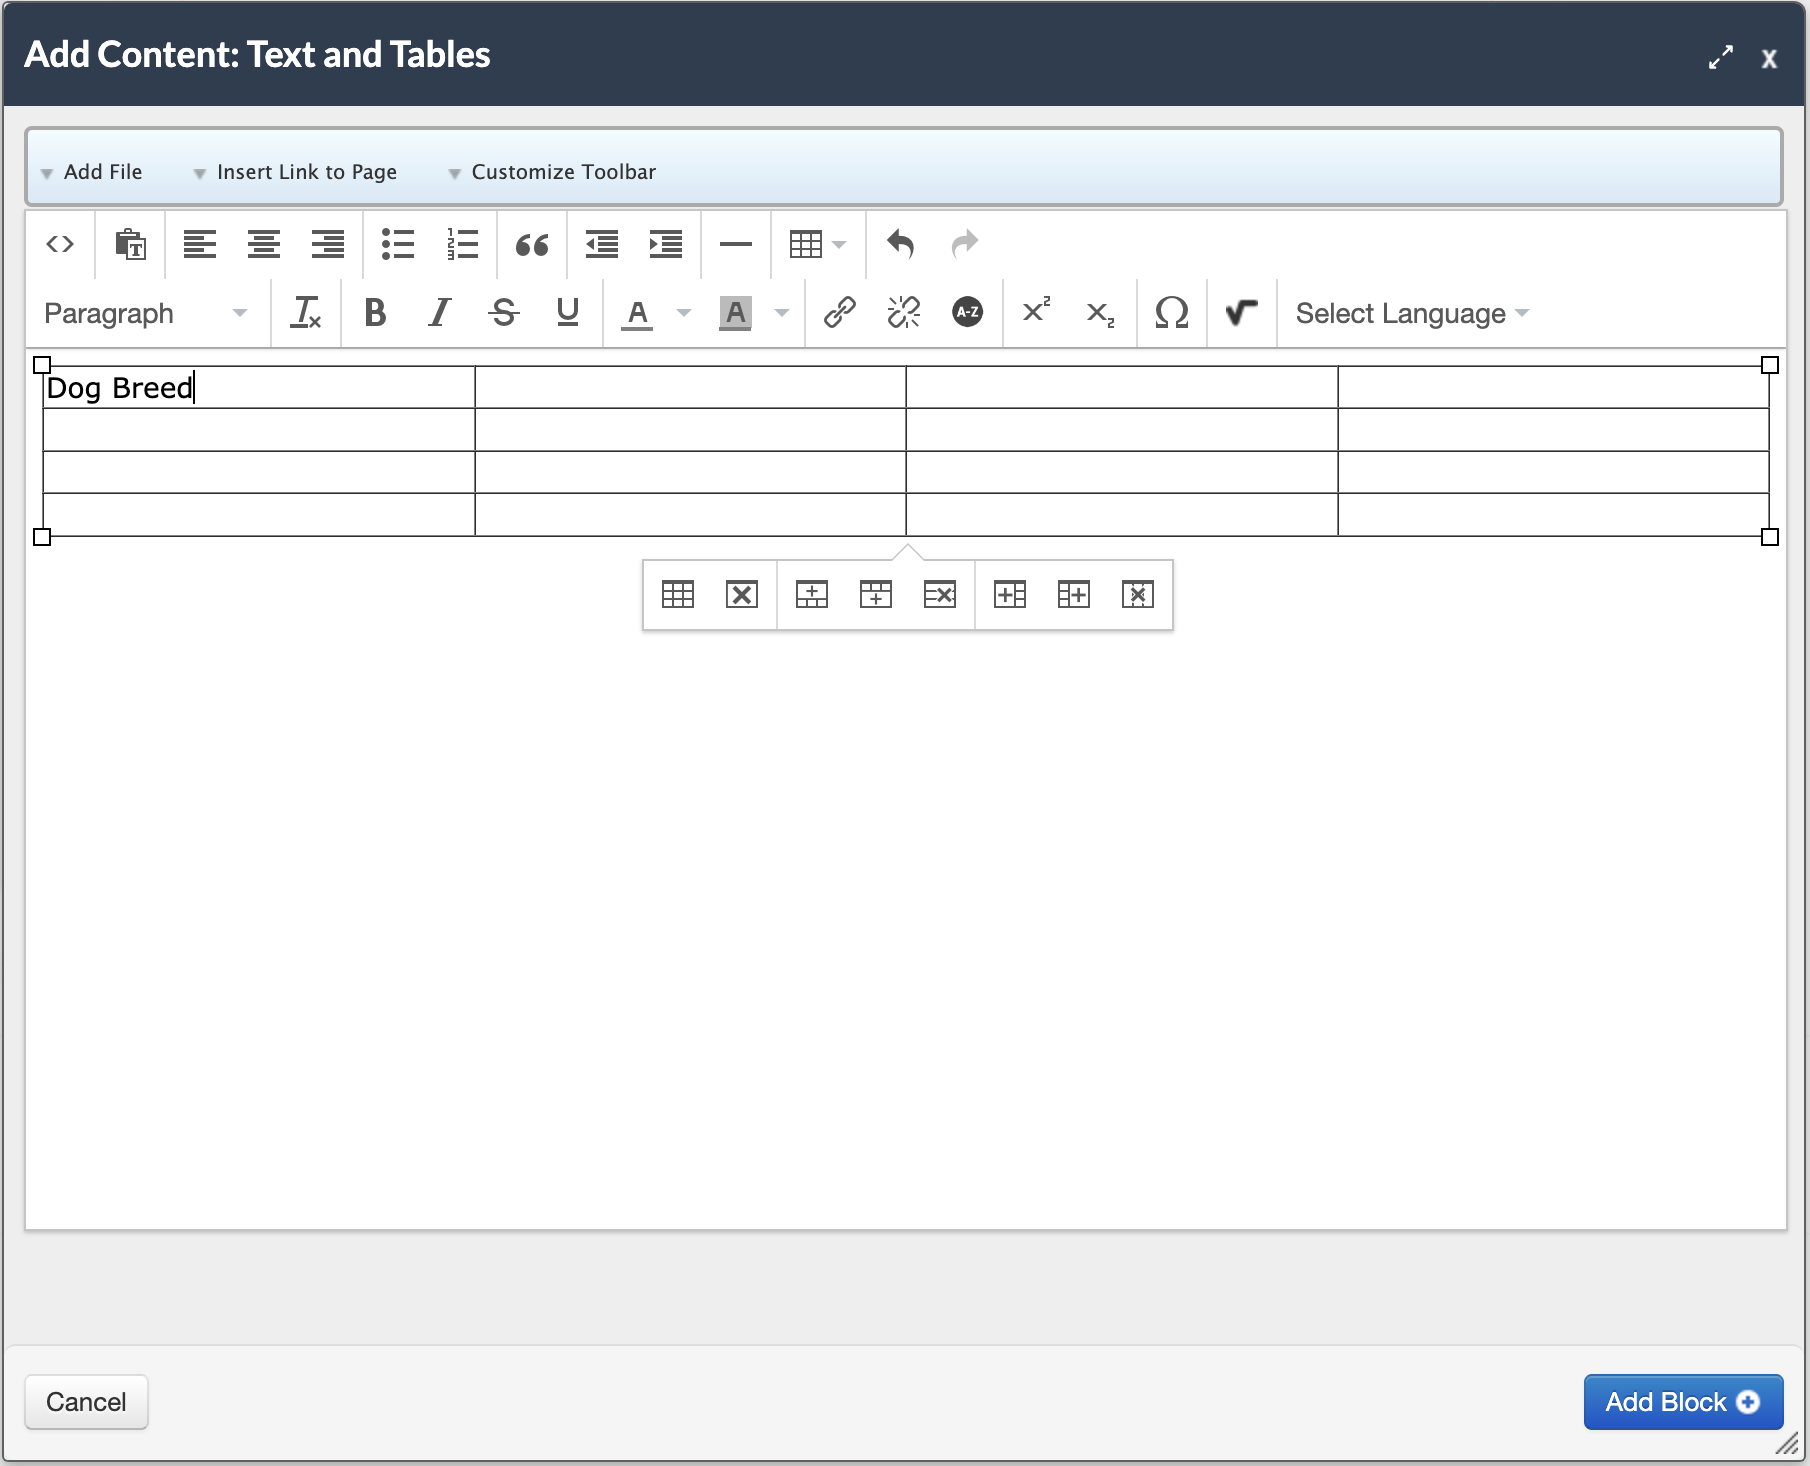
- Use the tab key to advance the cursor to the next cell and enter text.
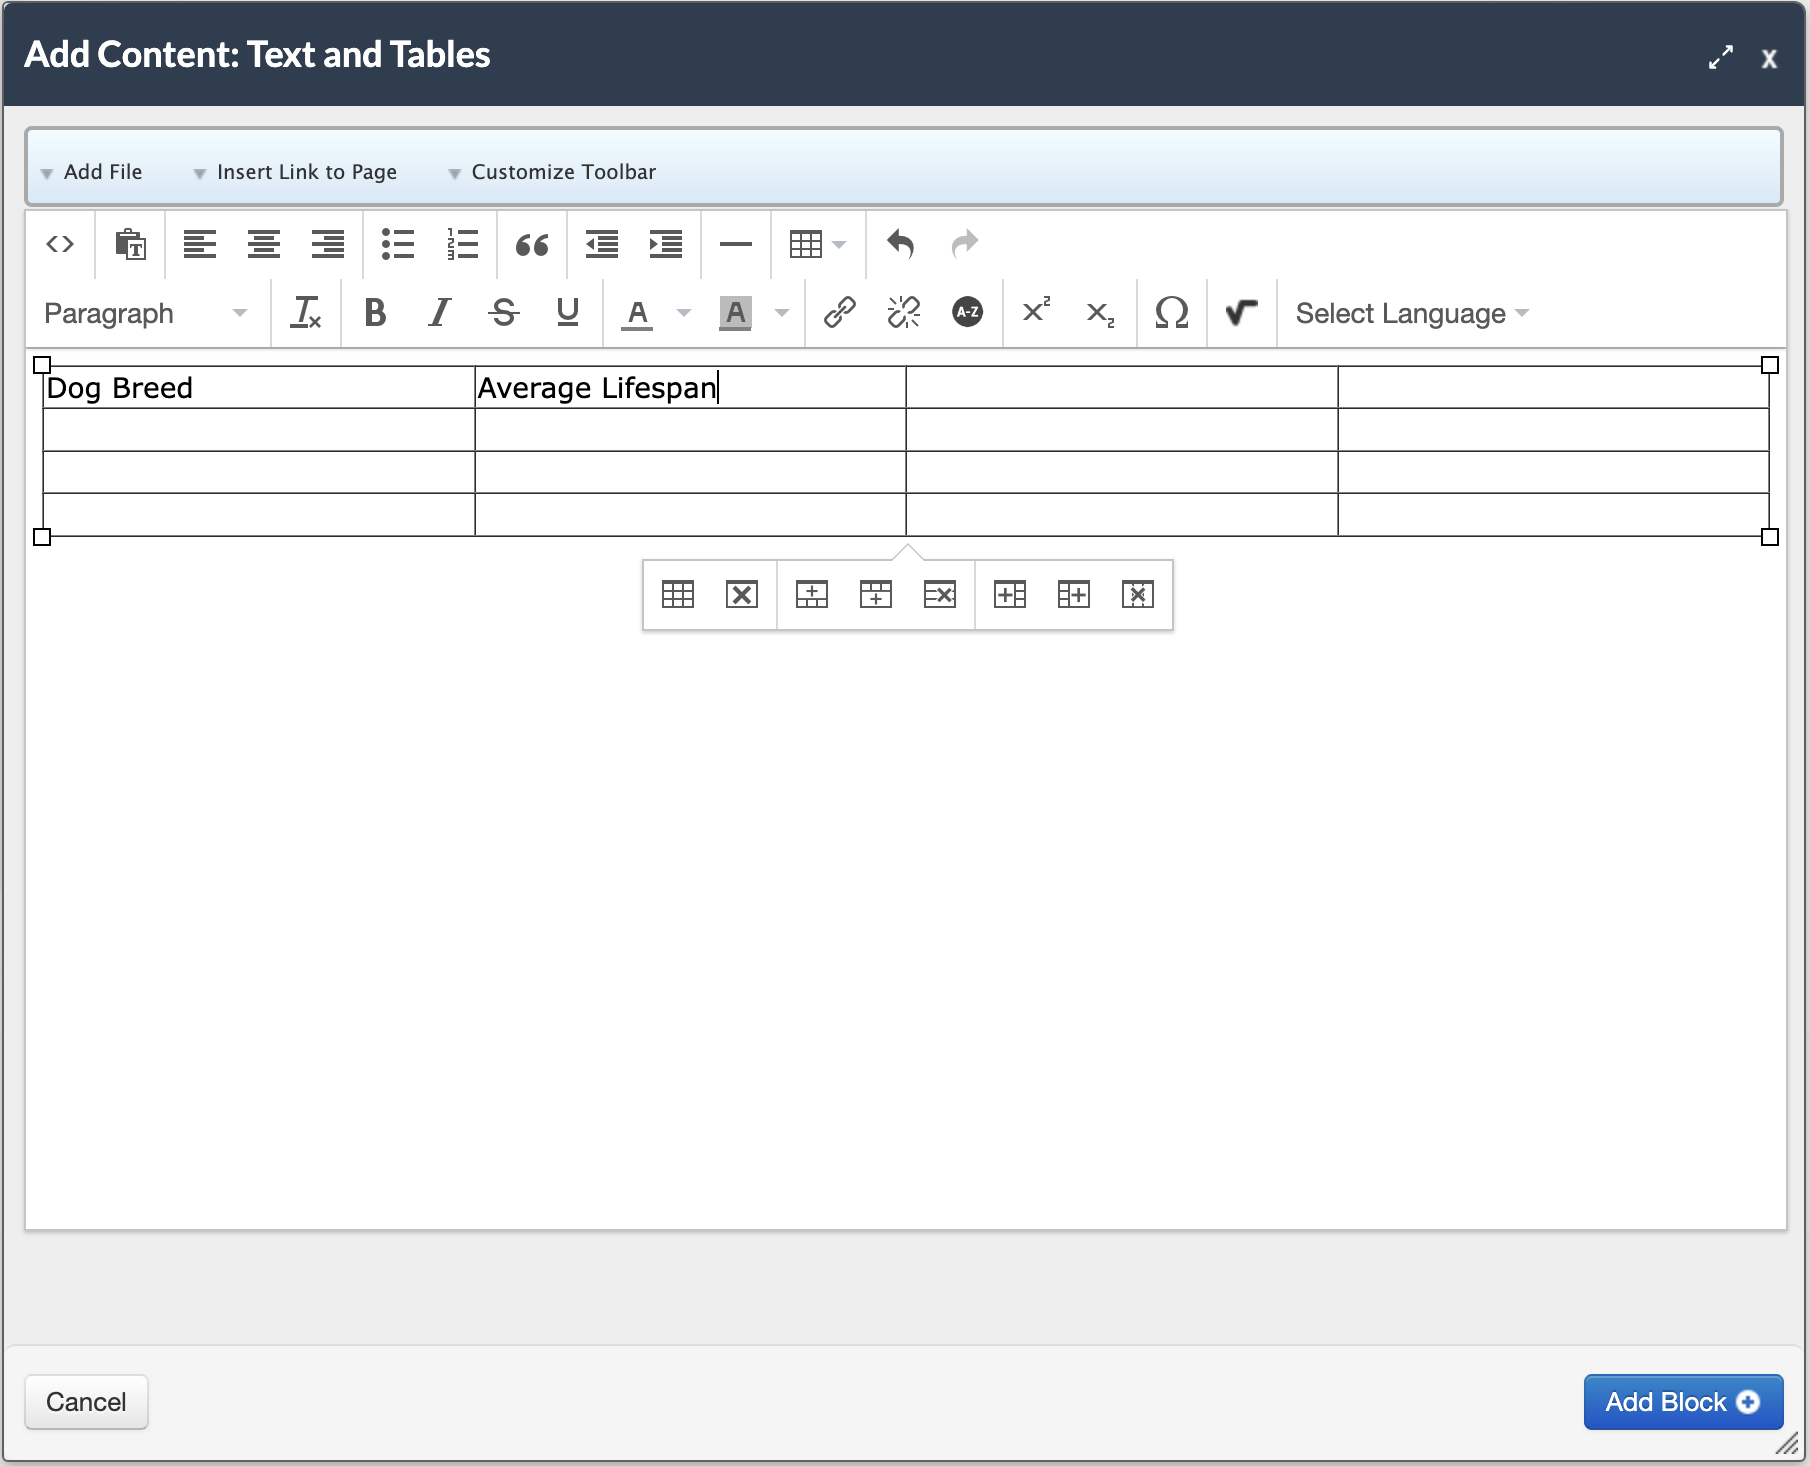
- Continue to tab through the table and enter the necessary information.
Note: In addition to navigating the table with the tab key, it is also possible to edit any cell by clicking it.
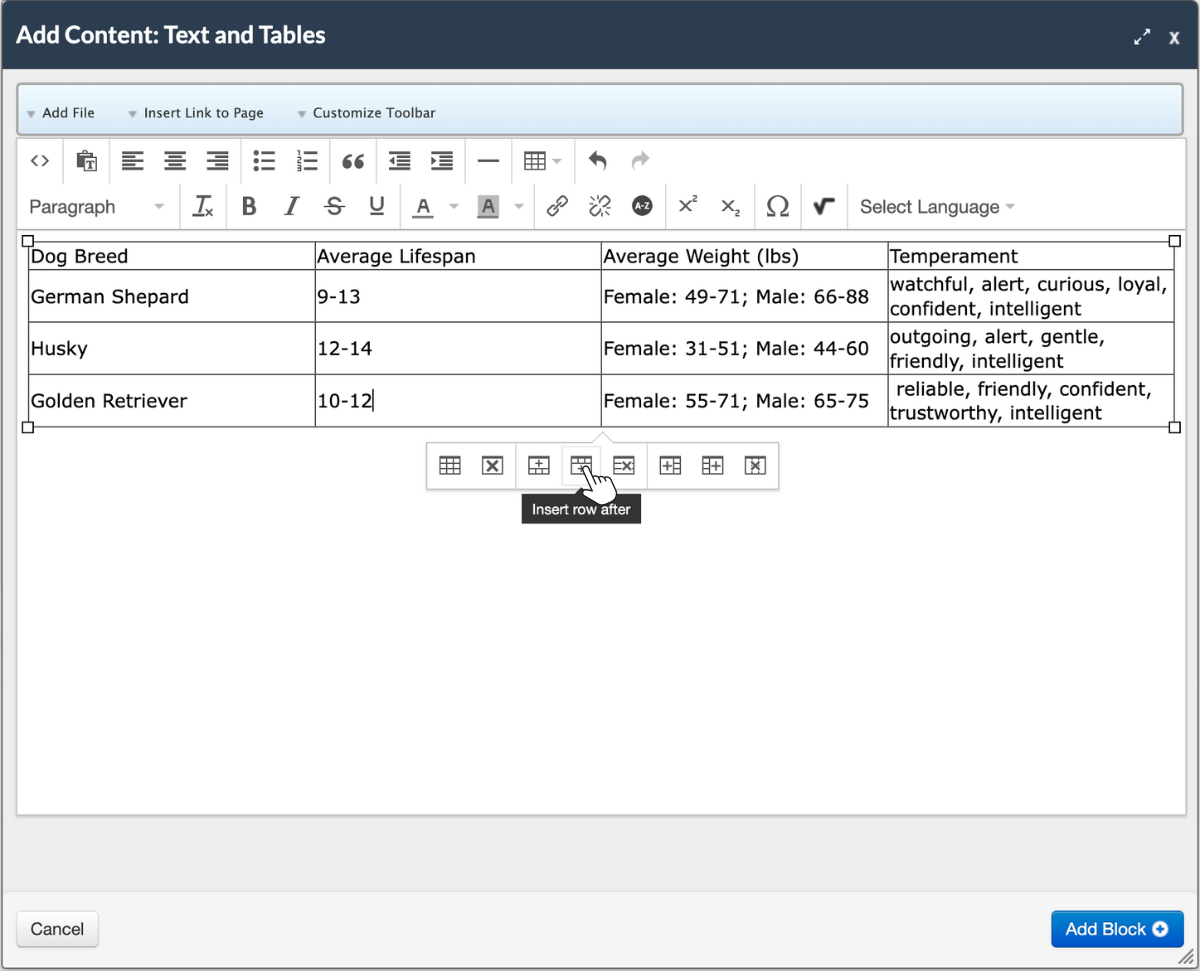
- If additional rows or columns are required, click to place a cursor in the table and then use the table tool popup to insert a row.
Make the Table Accessible
For the next steps, and to ensure your table is accessible, identify your top row as a header row and identify header cells in the top row or left column as appropriate.
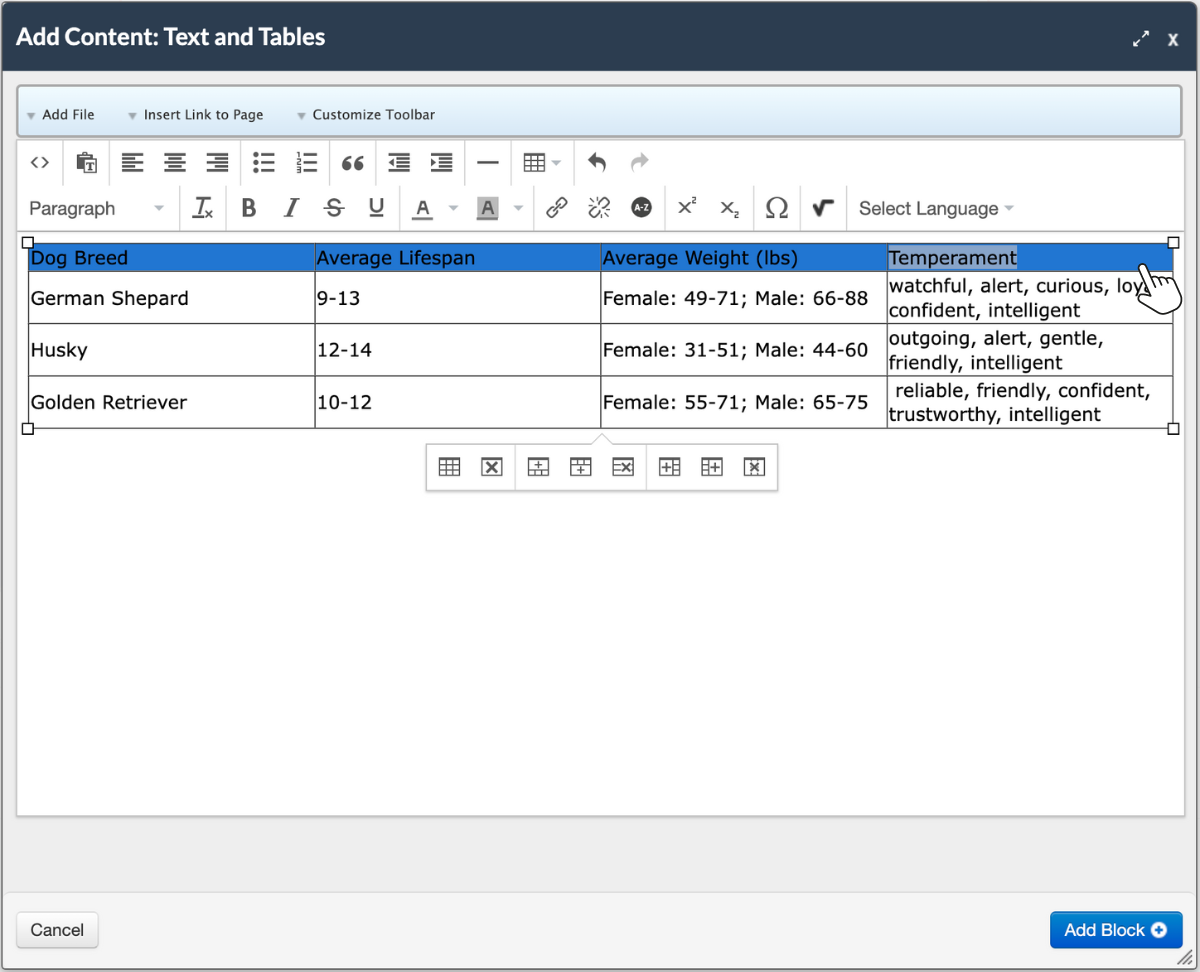
- Select the top row of cells to highlight them.
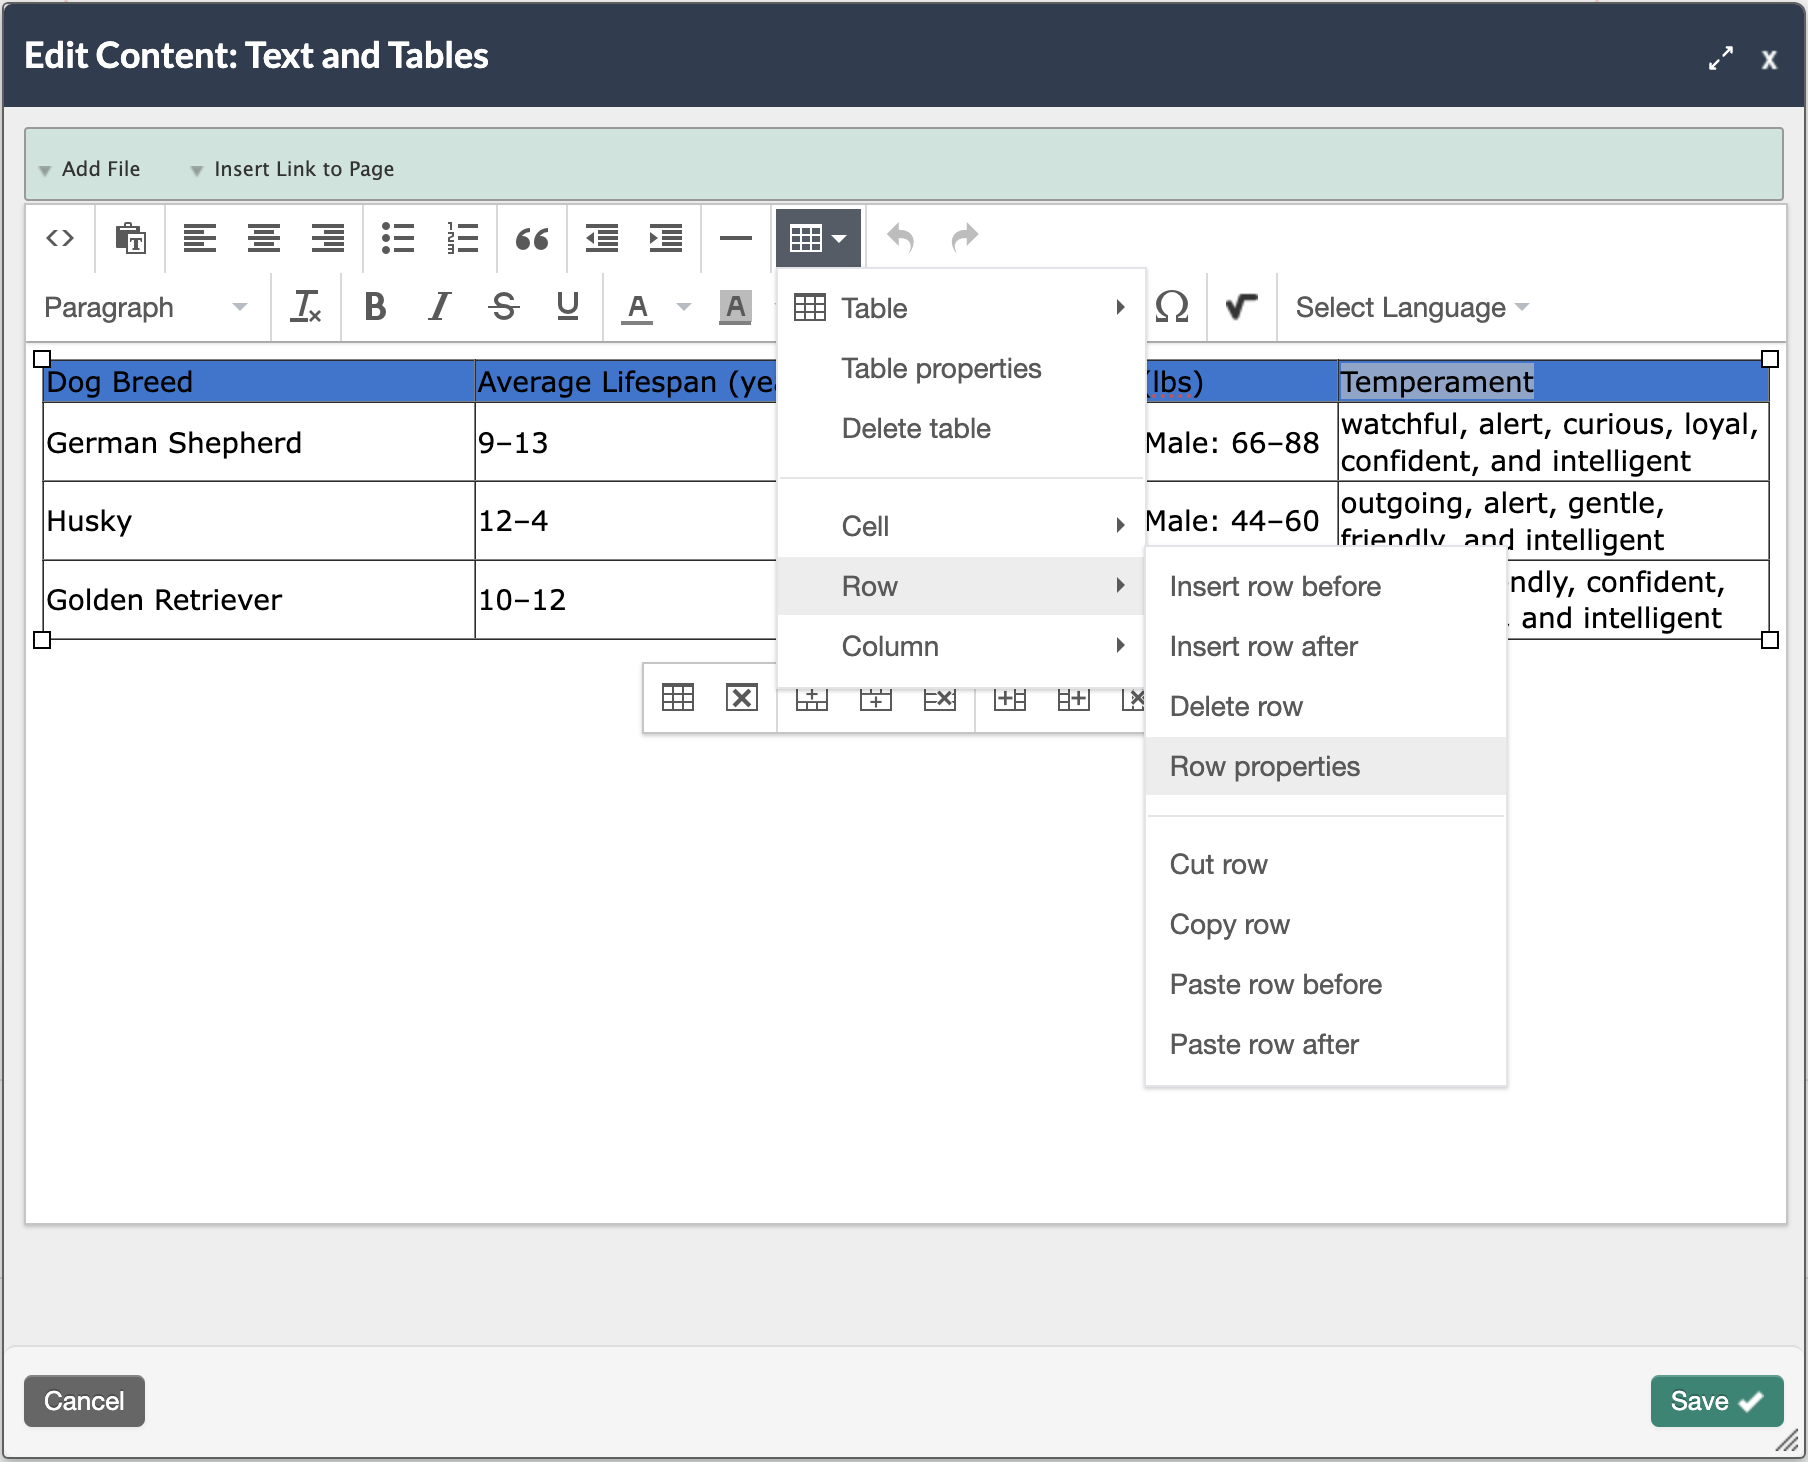
- Select Row and then Row Properties from the Table menu in the toolbar.
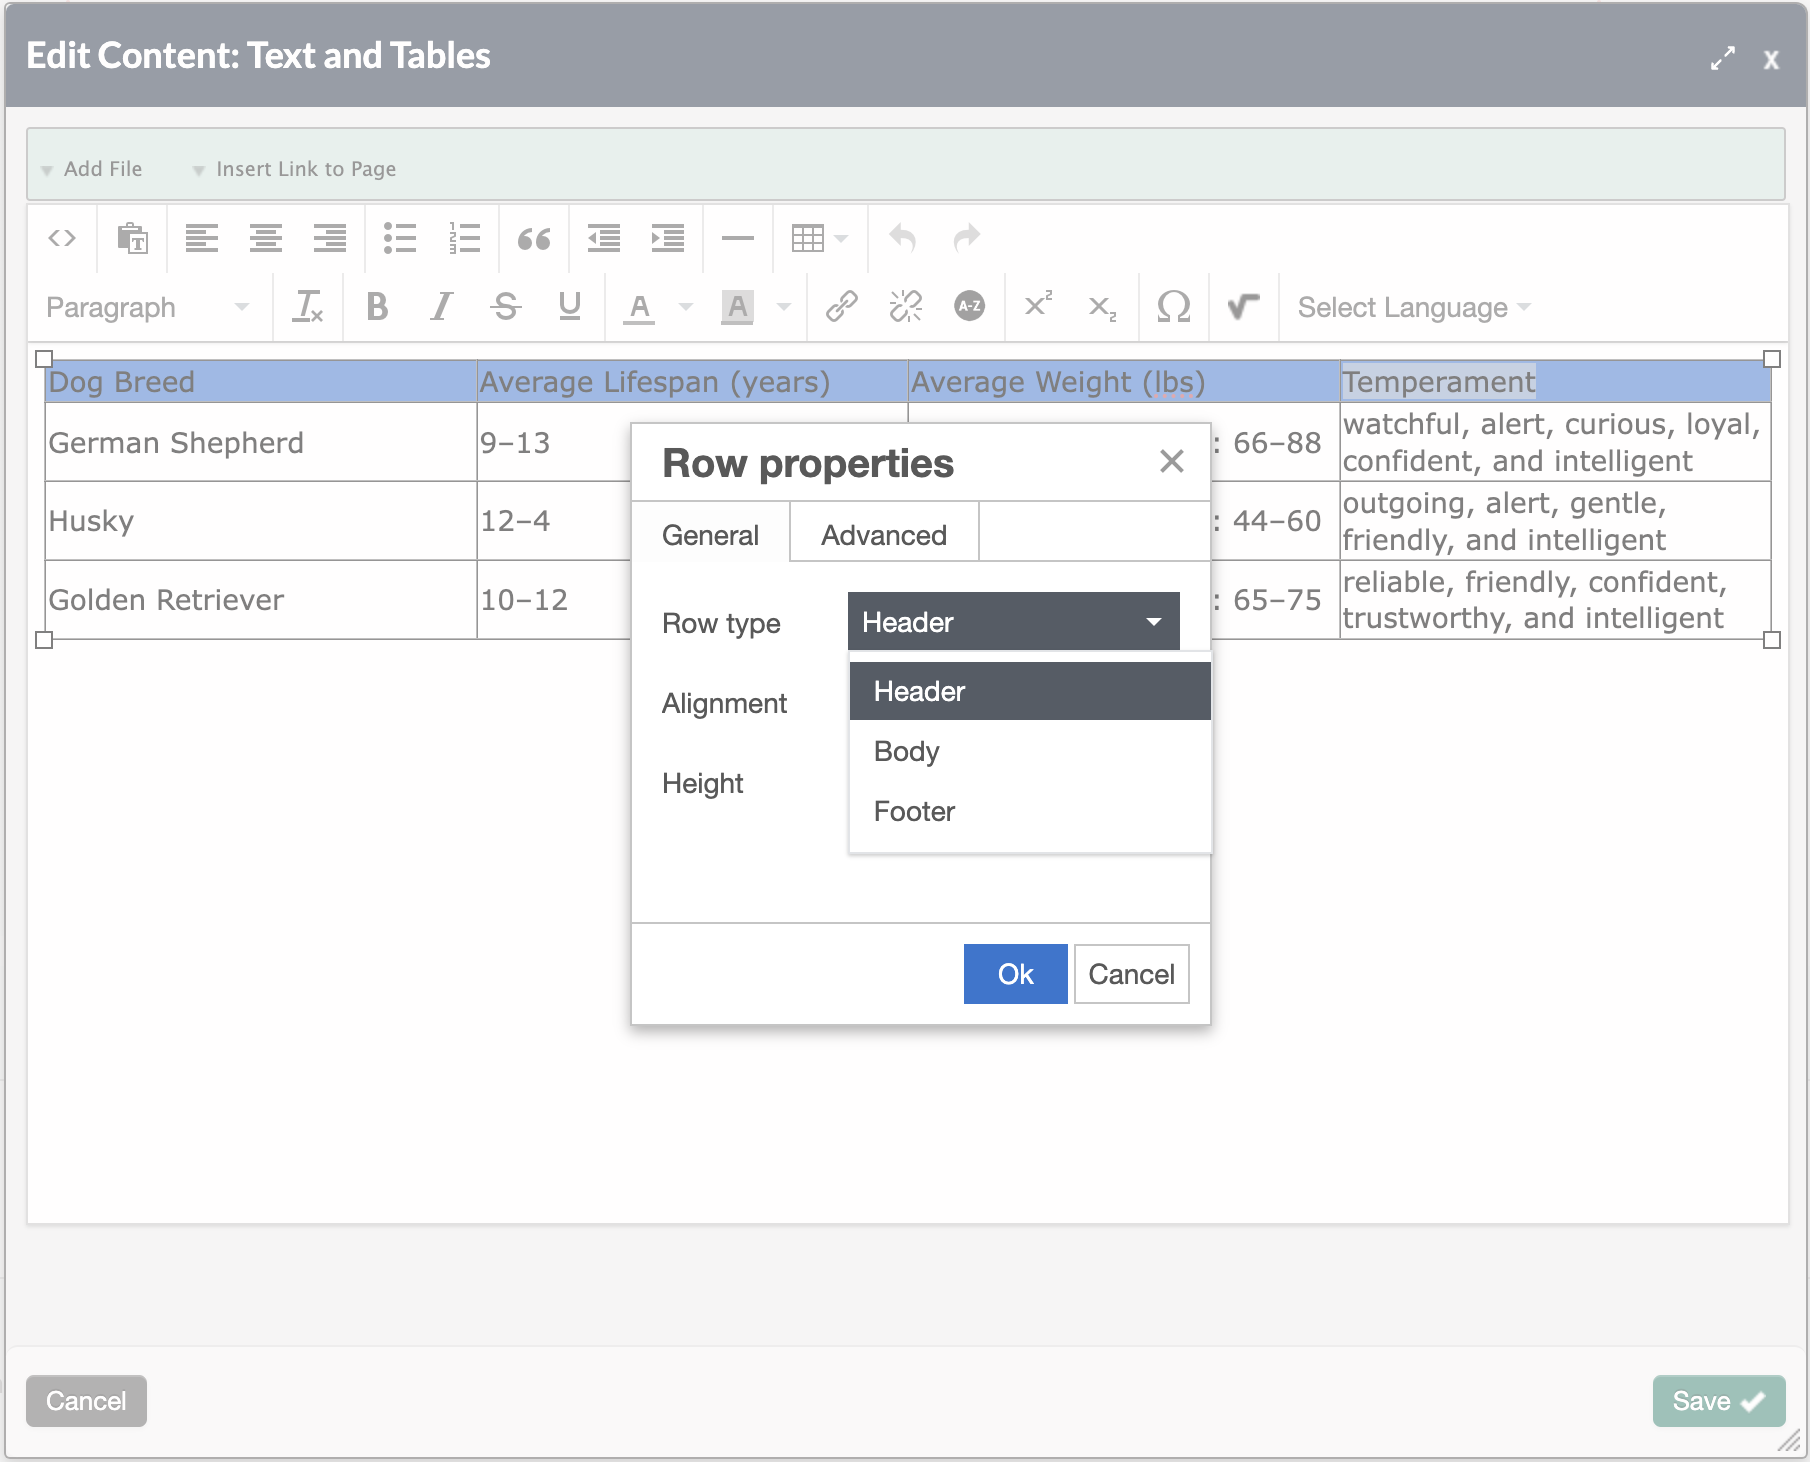
- For Row type, choose Header.
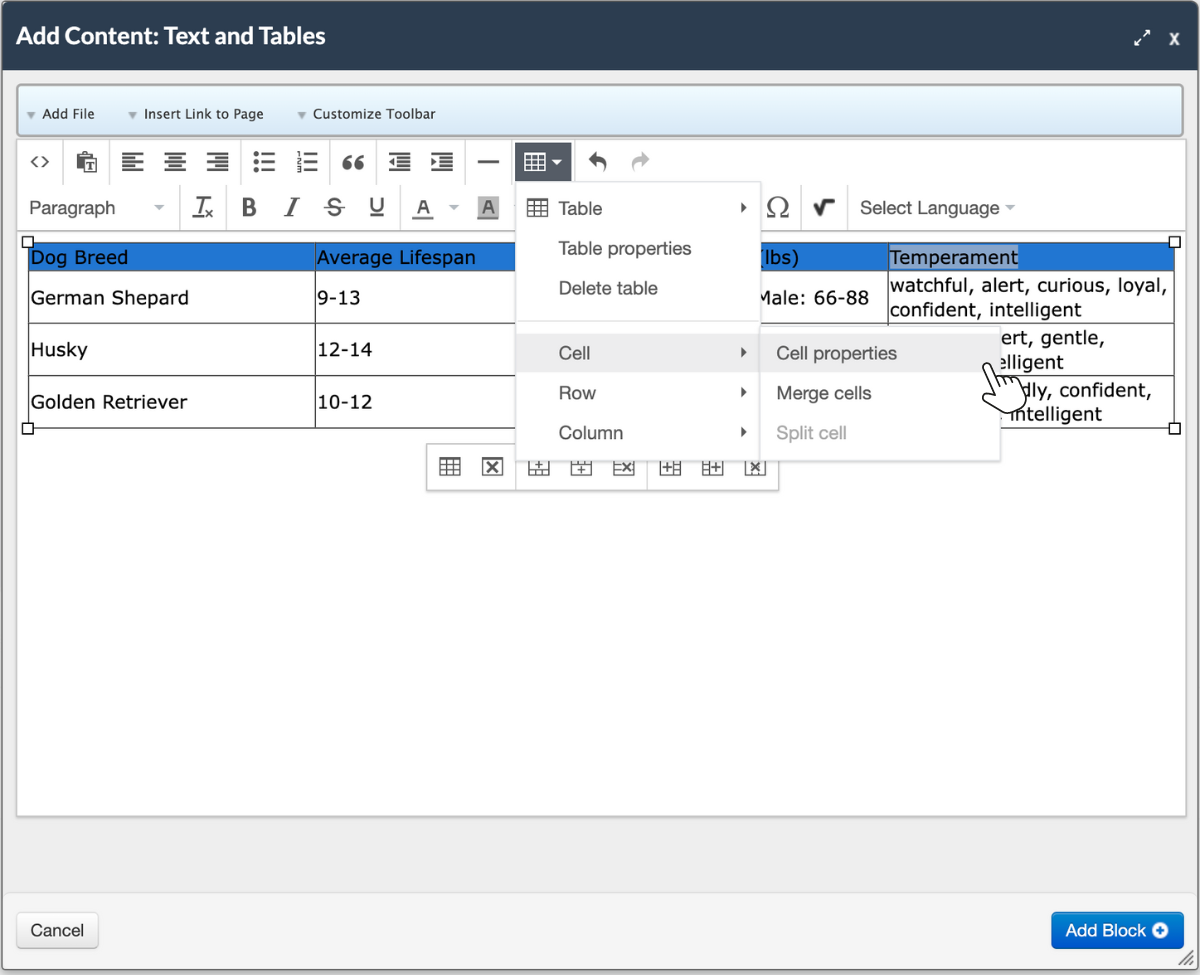
- Select the top row of cells to highlight them again, then select Cell and Cell properties.
- Choose Header cell.
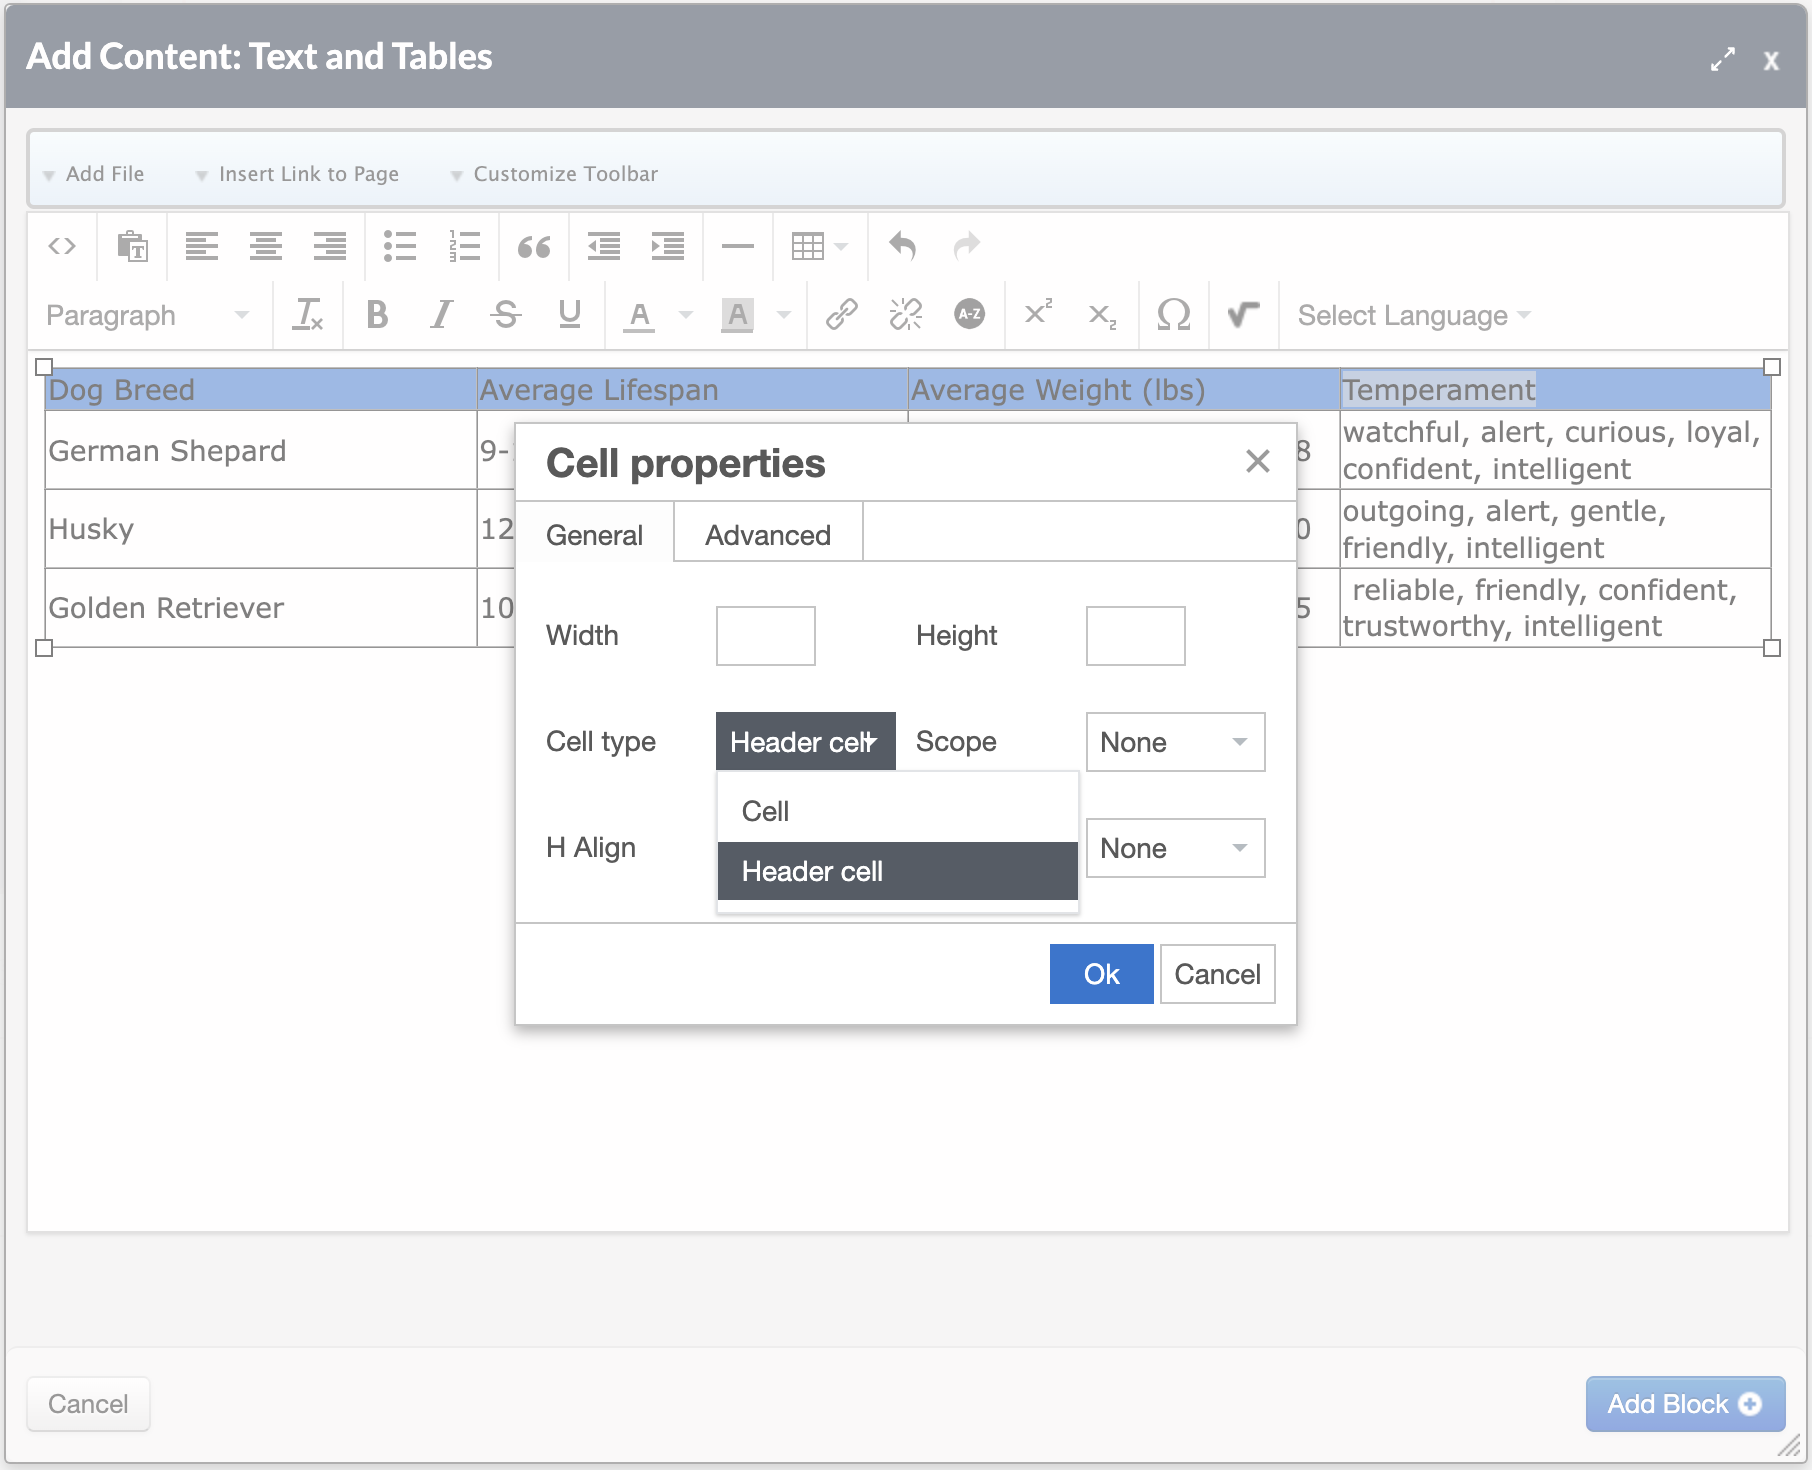
- Repeat steps 4 and 5 (cell properties) with cells in the first column if those are also headers.
- Once the table is configured as needed, select Add Block+ to add the Content: Text and Tables block to the page.
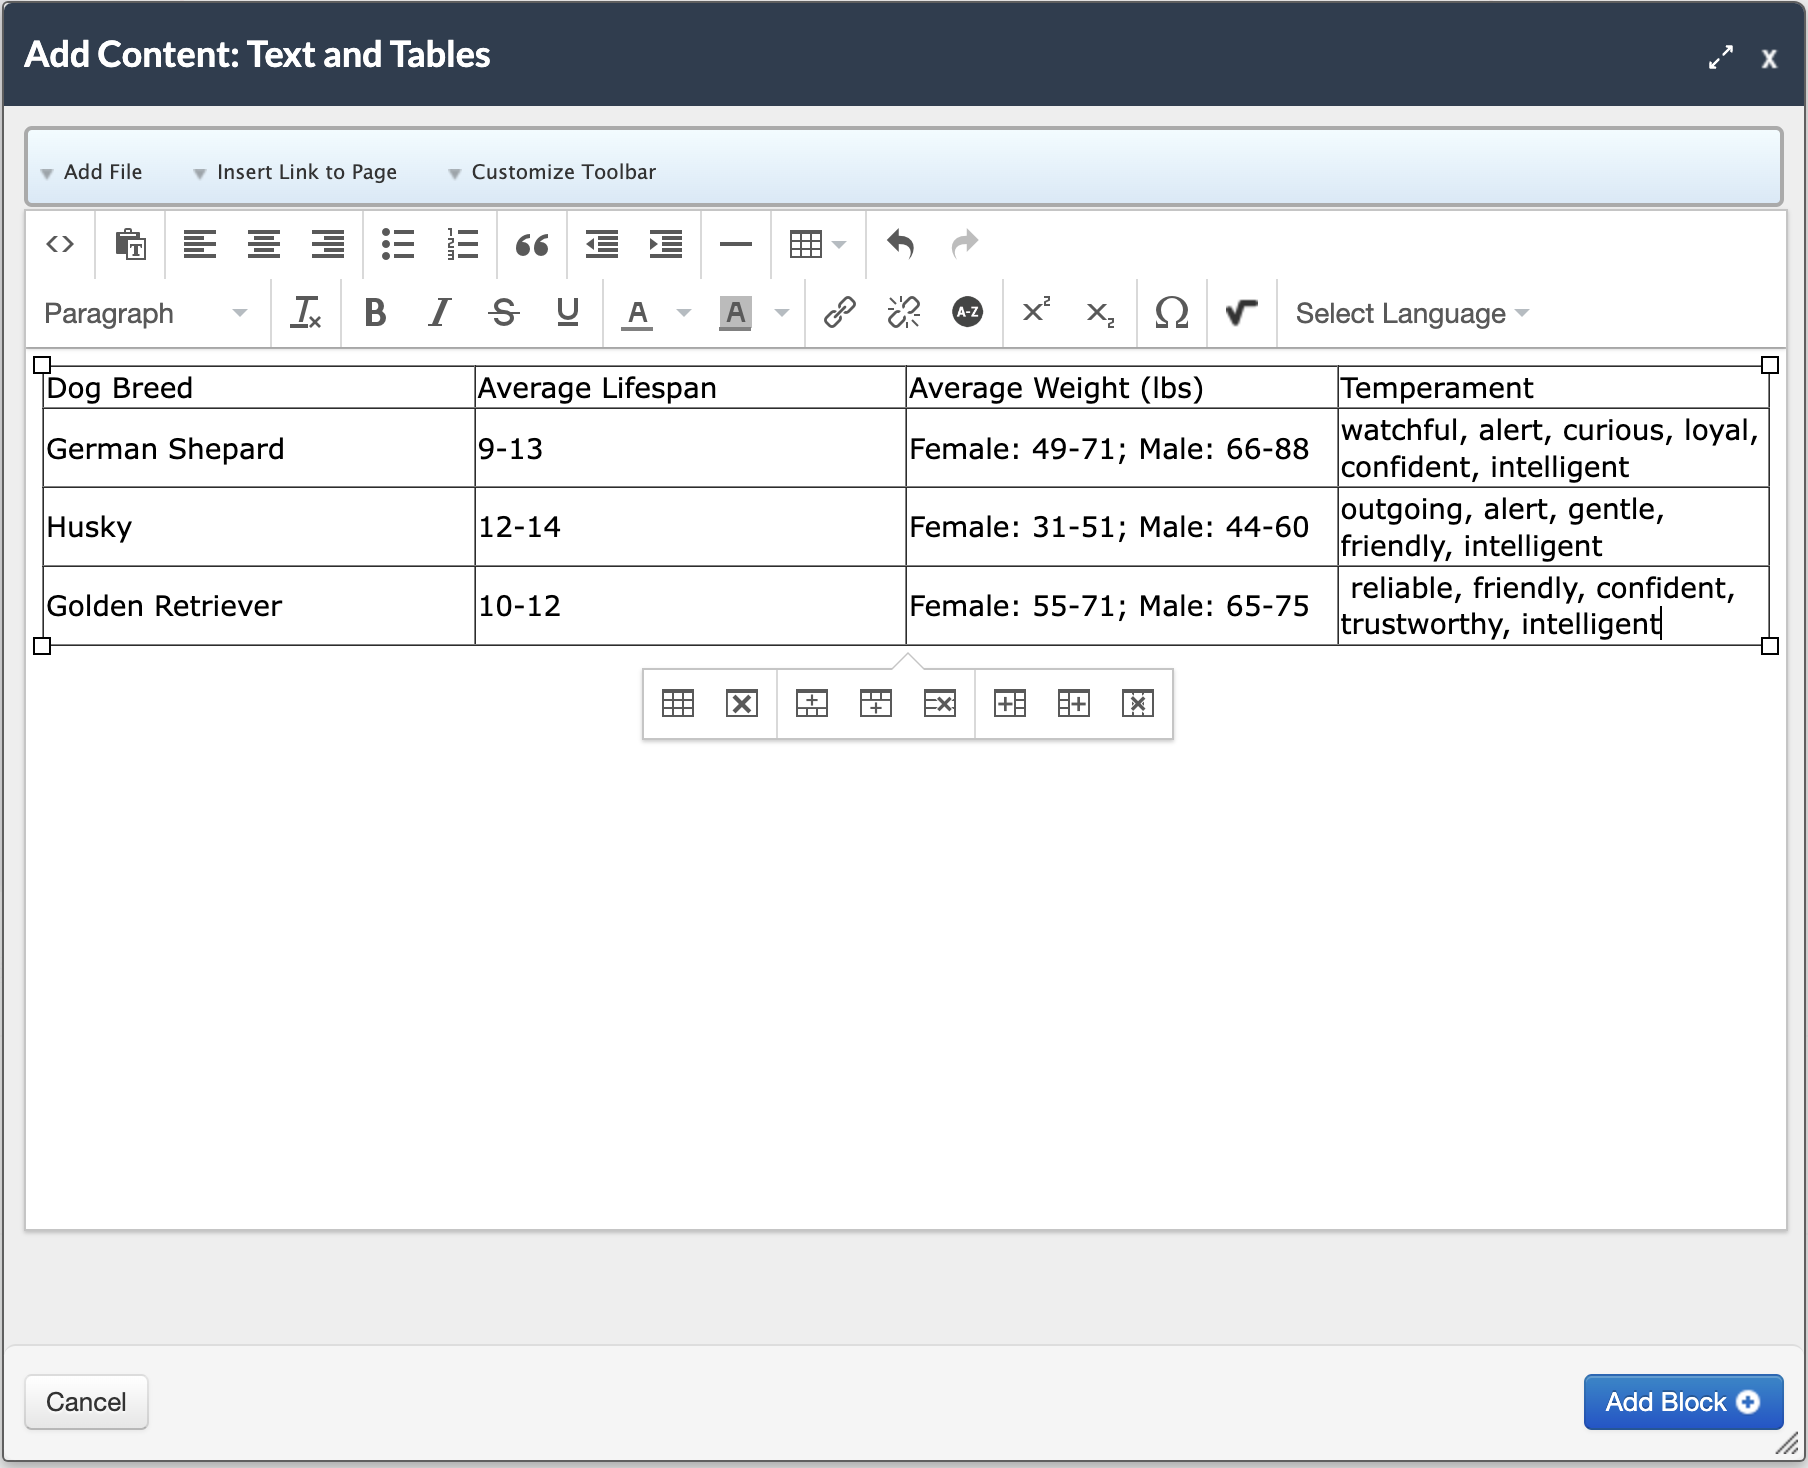
- The Content block will now appear on the page in the edit page view. Select the Publish My Edits button to save the block to the page.
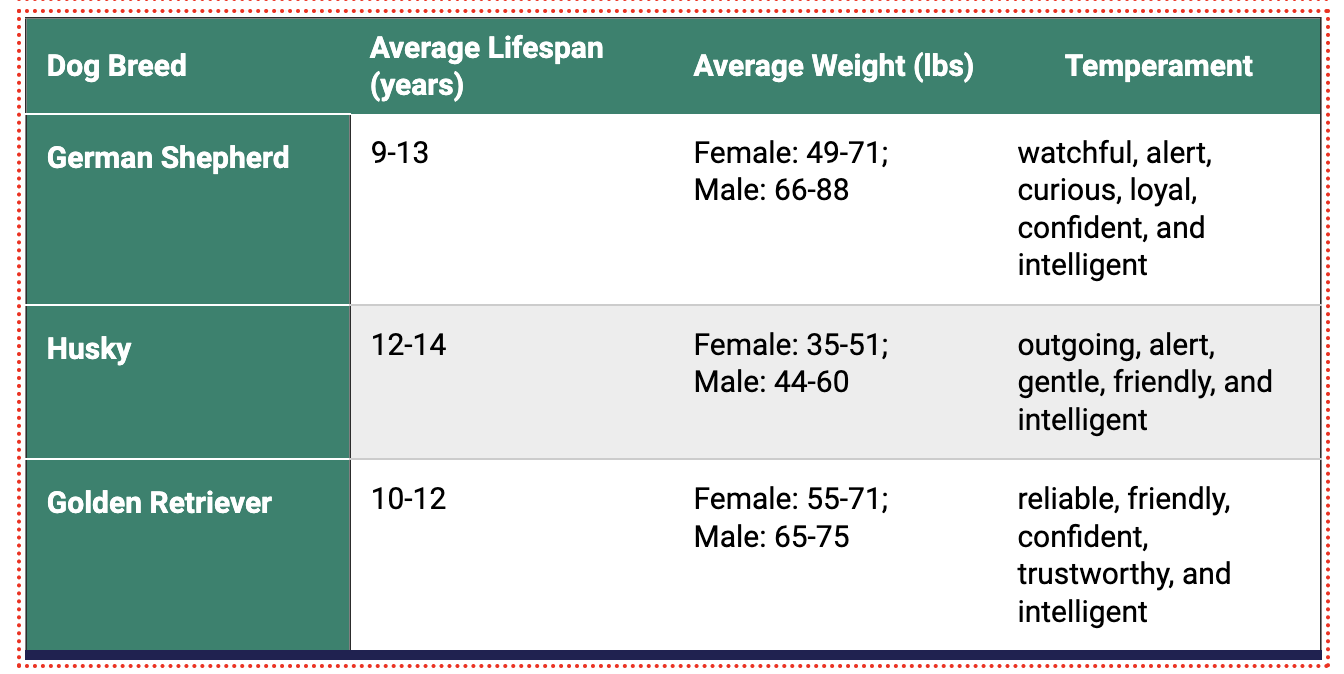
- Once the changes are published, the Content block displays as it will appear to learners with theme colors applied to the header cells, rows and columns.
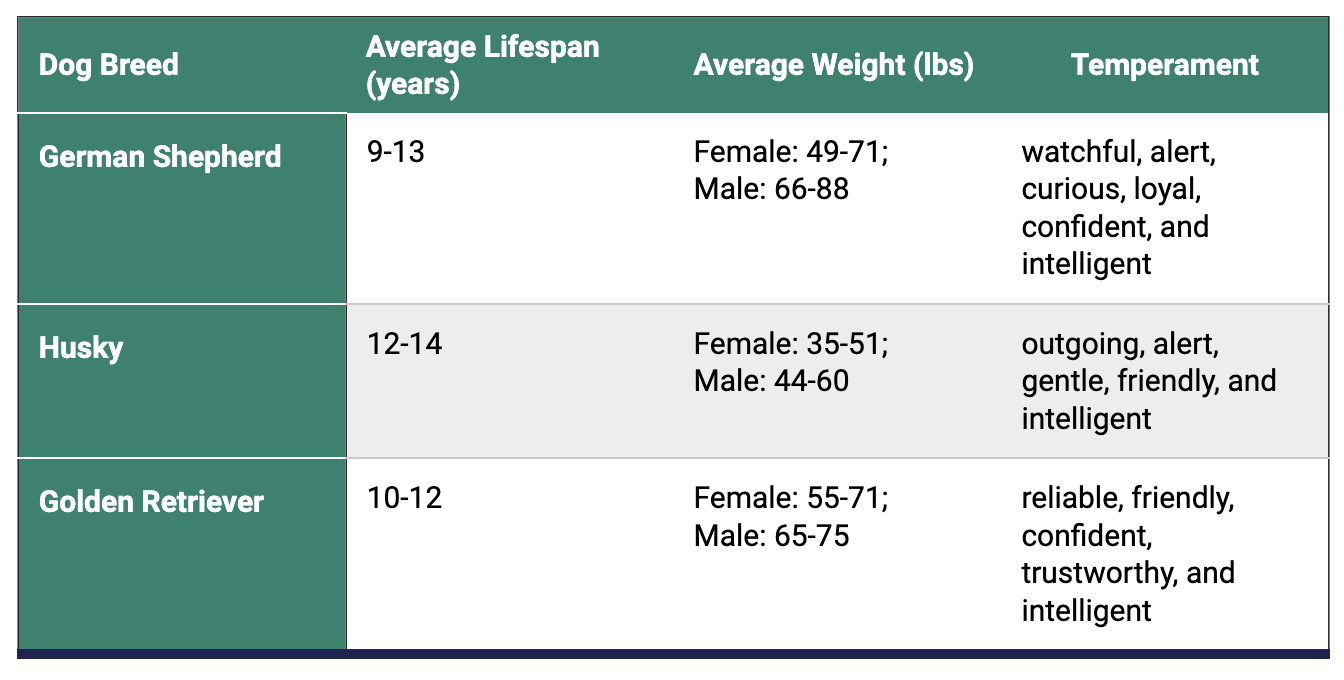
Watch the video below to learn how to create an accessible table with headers in CourseArc.
Was this article helpful?
That’s Great!
Thank you for your feedback
Sorry! We couldn't be helpful
Thank you for your feedback
Feedback sent
We appreciate your effort and will try to fix the article