The Certificate block allows content creators to set up certificates for learners that can be issued by a course instructor or issued automatically based on a quiz score. This article discusses certificates that are issued by an instructor.
The Certificate block can import an image to use as a background. For guidance on creating a background image to use with a Certificate block, check out How do I create a background image for use in a Certificate block?.
Only one Certificate block per page should be added.
For certificate printing tips, refer to Certificate Block Printing Tips.
- From the edit page view, click Add to Content and select Add Block.

- From the Add Block modal, select Certificate.

- The Add Certificate form will appear.

- In the Background Image: field, click +Select background image.

- The File Manager appears. Select the checkbox for the image to use as the certificate background.
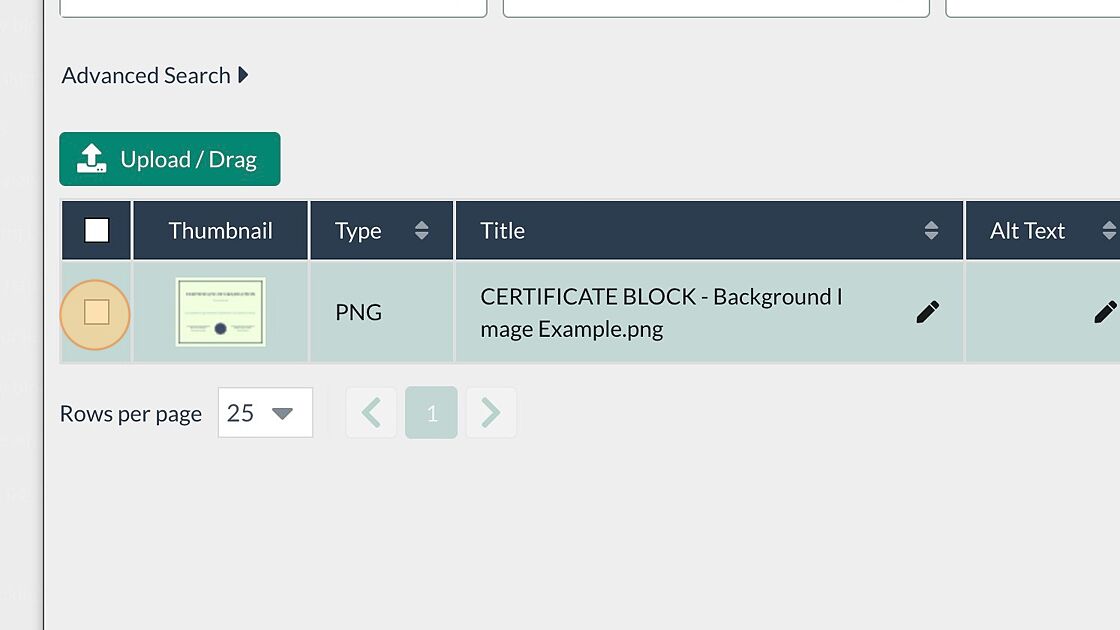
- Select Choose from the dropdown menu.

- The background graphic will display in the Preview Area with placeholders for the default fields [Student Name] and [Month ##, Year]. The Background Image Alt Text: field is not required, but may be configured if there's a need to describe the certificate's background image via screen reader.
 Note: [Student Name] and [Month ##, Year] are the only fields that appear on the certificate by default. Additionally, both fields are populated automatically with the corresponding data (i.e., student name and current date).
 - Adjust the Student Name Position: and Date Position: fields as needed using the corresponding Vertical% slider. Adjust the text size by configuring the corresponding Size: field.
Student Name Size: and Date Size: field positions are adjusted for better visibility; and the Student Name Size: field value is increased
- Add any additional custom text needed using the Line 1 Text:, Line 2 Text:, and Line 3 Text: fields. Adjust the position of each added line of text as needed.
- Click +Add to add the Certificate block to the page.

- The Certificate block will appear on the page in edit mode.

- Select the Publish My Edits button to save the changes and view the Certificate block in published mode.

The learner view of a certificate includes a link to Certificate Block Printing Tips .
Any learner that has not been issued a certificate by the instructor will see the following message displayed on the page in place of the certificate:
You have not yet been issued this certificate. Please check back later.
To learn how to issue a certificate to a learner, refer to How do I issue a certificate to a learner?.
To learn how to create a certificate that is issued automatically, check out How do I create a certificate that is issued automatically?.
Was this article helpful?
That’s Great!
Thank you for your feedback
Sorry! We couldn't be helpful
Thank you for your feedback
Feedback sent
We appreciate your effort and will try to fix the article