- Navigate to the page and select Edit this Page. Find the position you want to add a block and select the plus (+) icon.

- From the dropdown, select Add Block.

- In the Add Block modal, either:
- Use the Search field to find a block by keyword
- Select a block from your custom list of Favorites
- Scroll through the list of All Blocks to select one
Use the various Categories to filter by block type
Select a star icon to add or remove blocks in your Favorites list

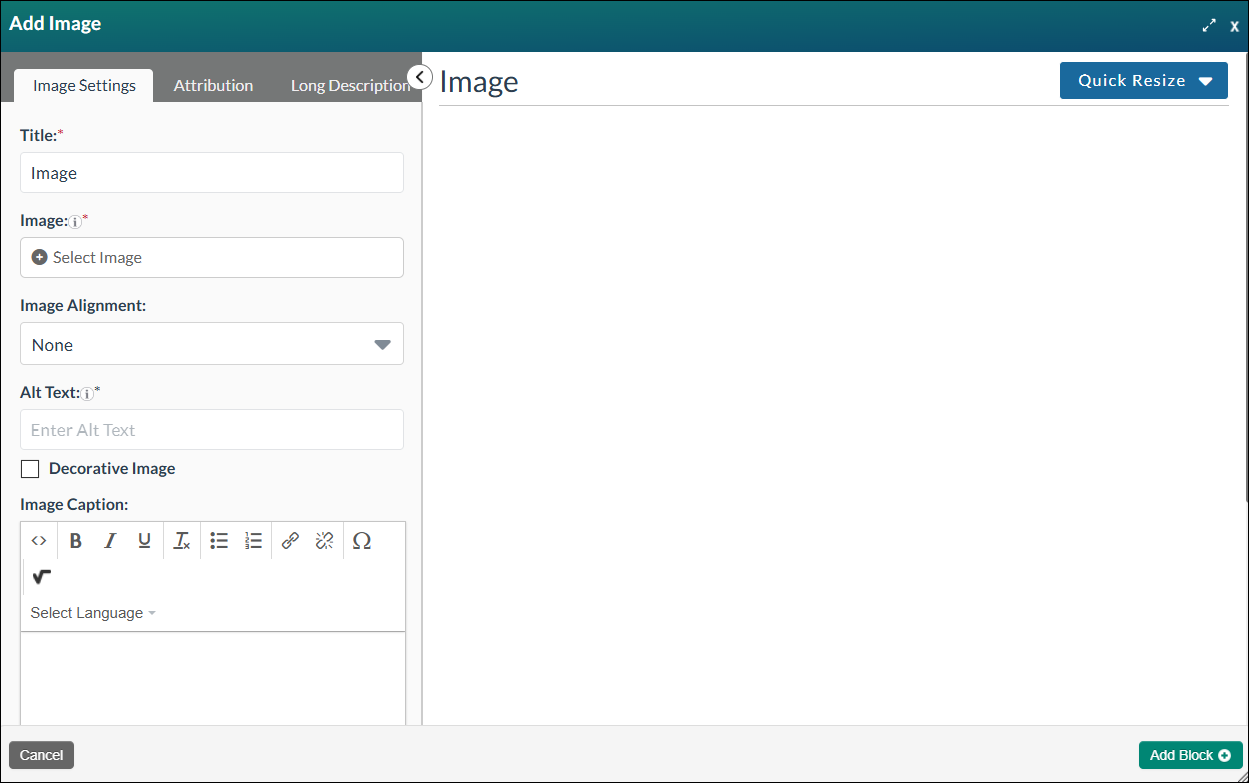
- Select the Image block. The Add Image form will open with two main sections: the Editing Pane and the Preview Pane. The Editing Pane is where you configure the image settings. As you make changes, they automatically display in the Preview Pane so you can see how the image will appear as you build it. You can use the toggle button between the panes to collapse the Editing Pane and expand the Preview Pane to full page width.
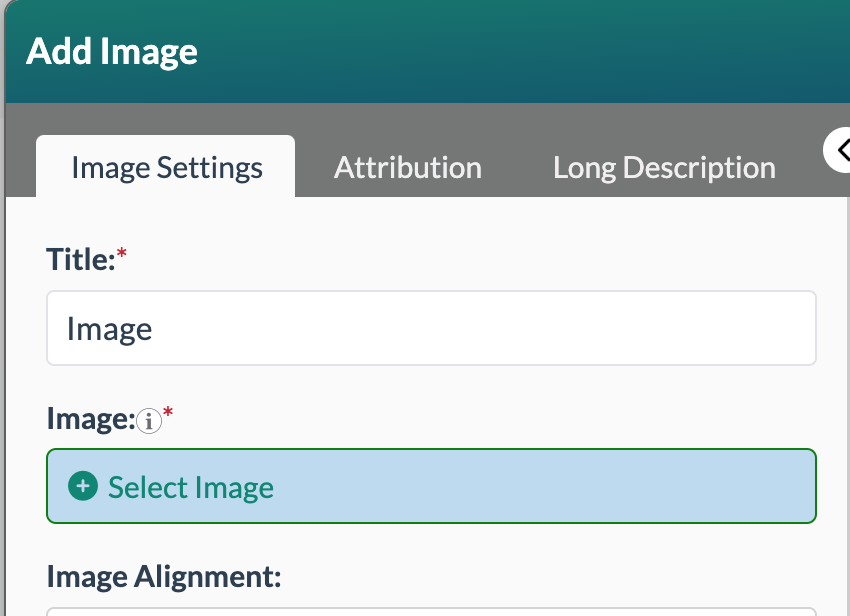
The Image block editor includes three tabs: Image Settings, Attribution, and Long Description.
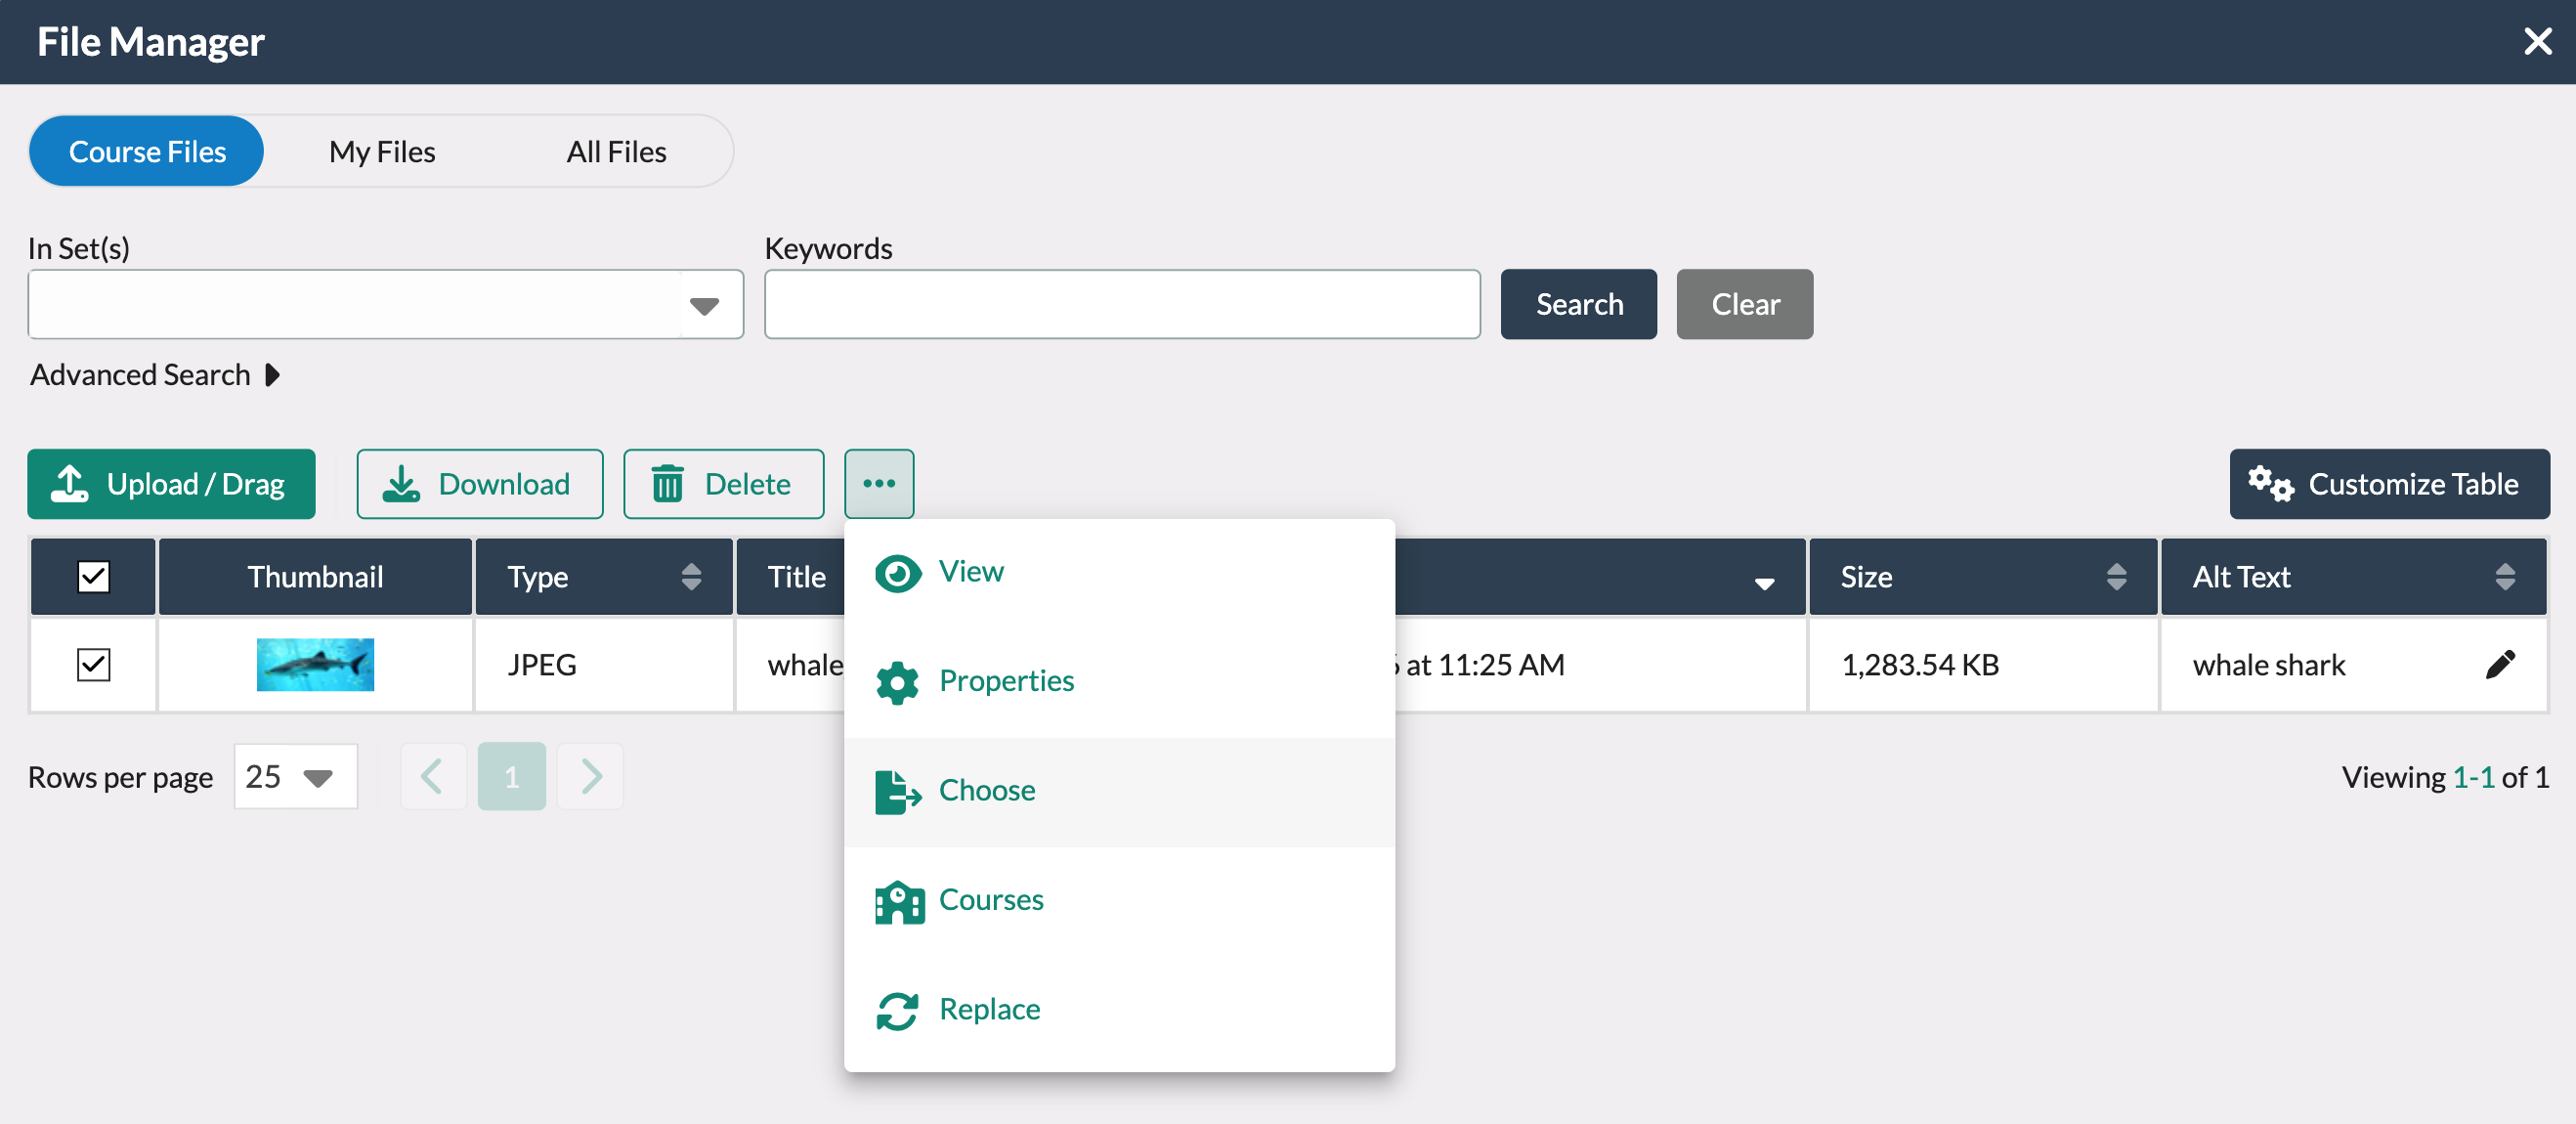
From the Image Settings tab, select +Select Image to open the File Manager.
By default, the File Manager opens to the Course Files tab, where you can view previously uploaded files and upload new ones.
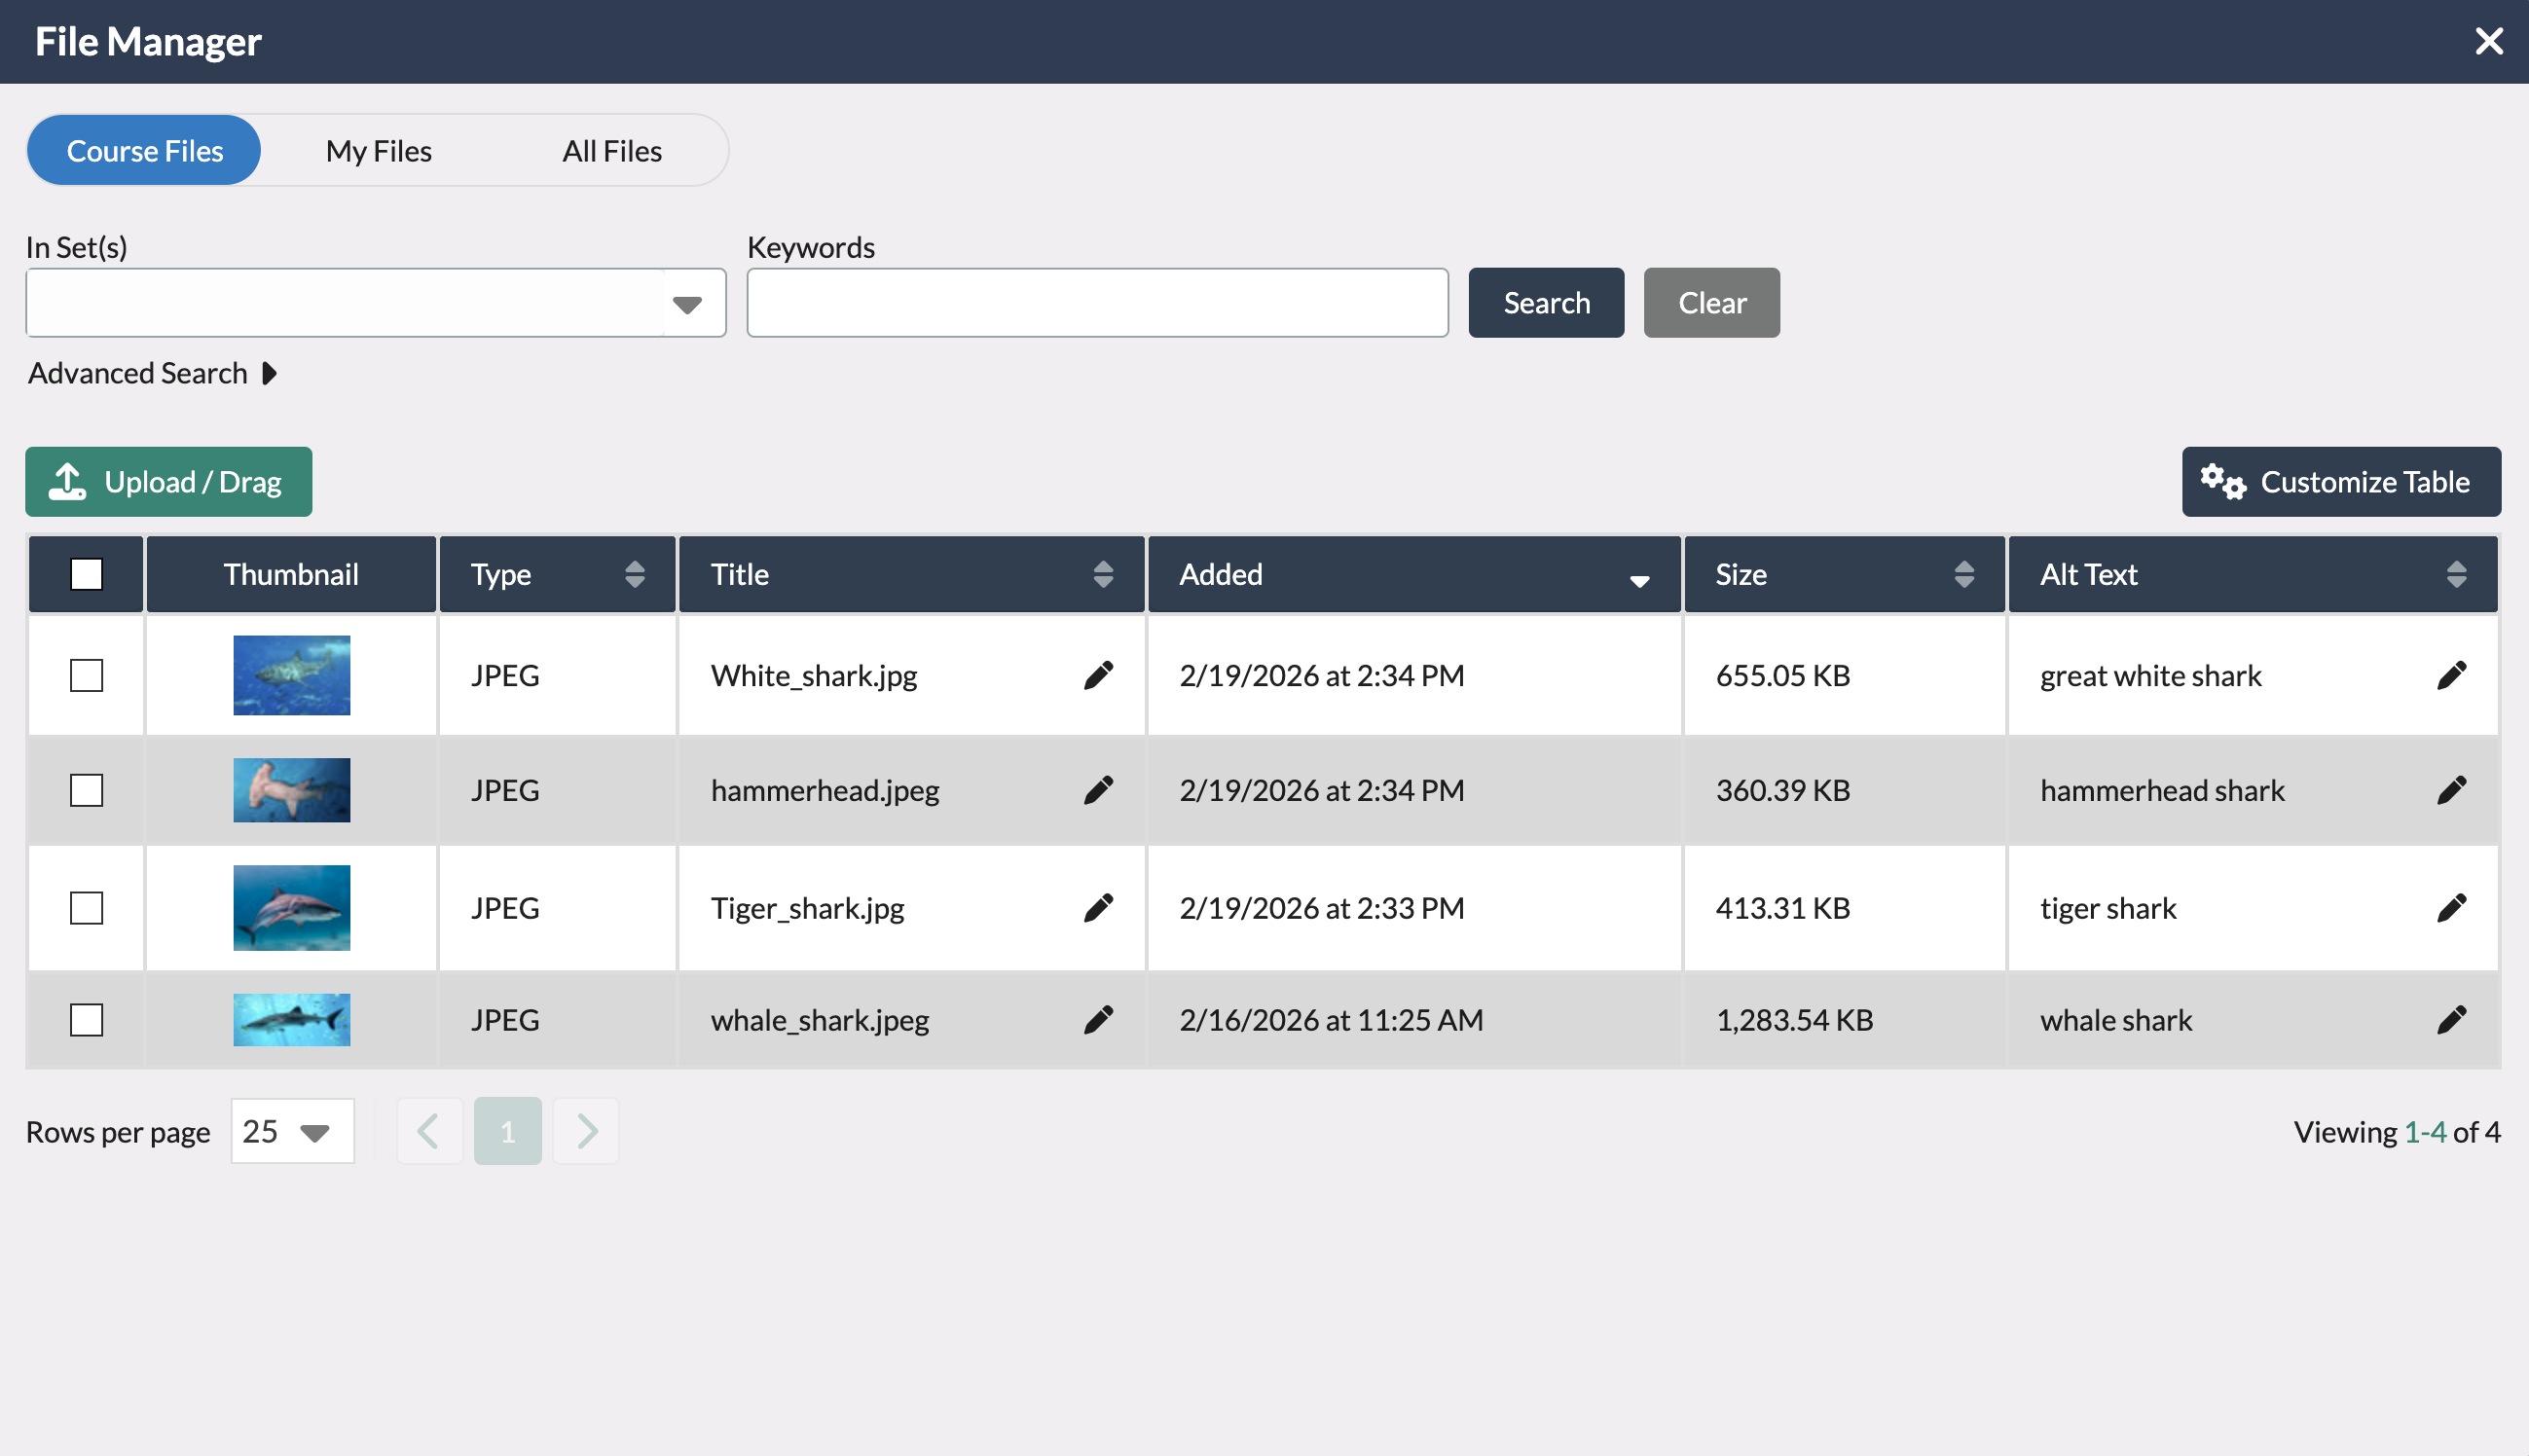
- You can toggle between Course Files, My Files, and All Files to search for existing files. To upload a file, select Upload/Drag or drag and drop a file anywhere within the File Manager window.
Note: Some Image block fields may auto-fill using metadata from the selected image. Uploaded images must not exceed 3500px in width or height. If your image is larger than 3500px in either dimension, resize it before uploading. See How do I resize an image that is too big to upload to the File Manager?for resizing instructions.
For more information on using the File Manager, refer to our File Manager Knowledge Base articles.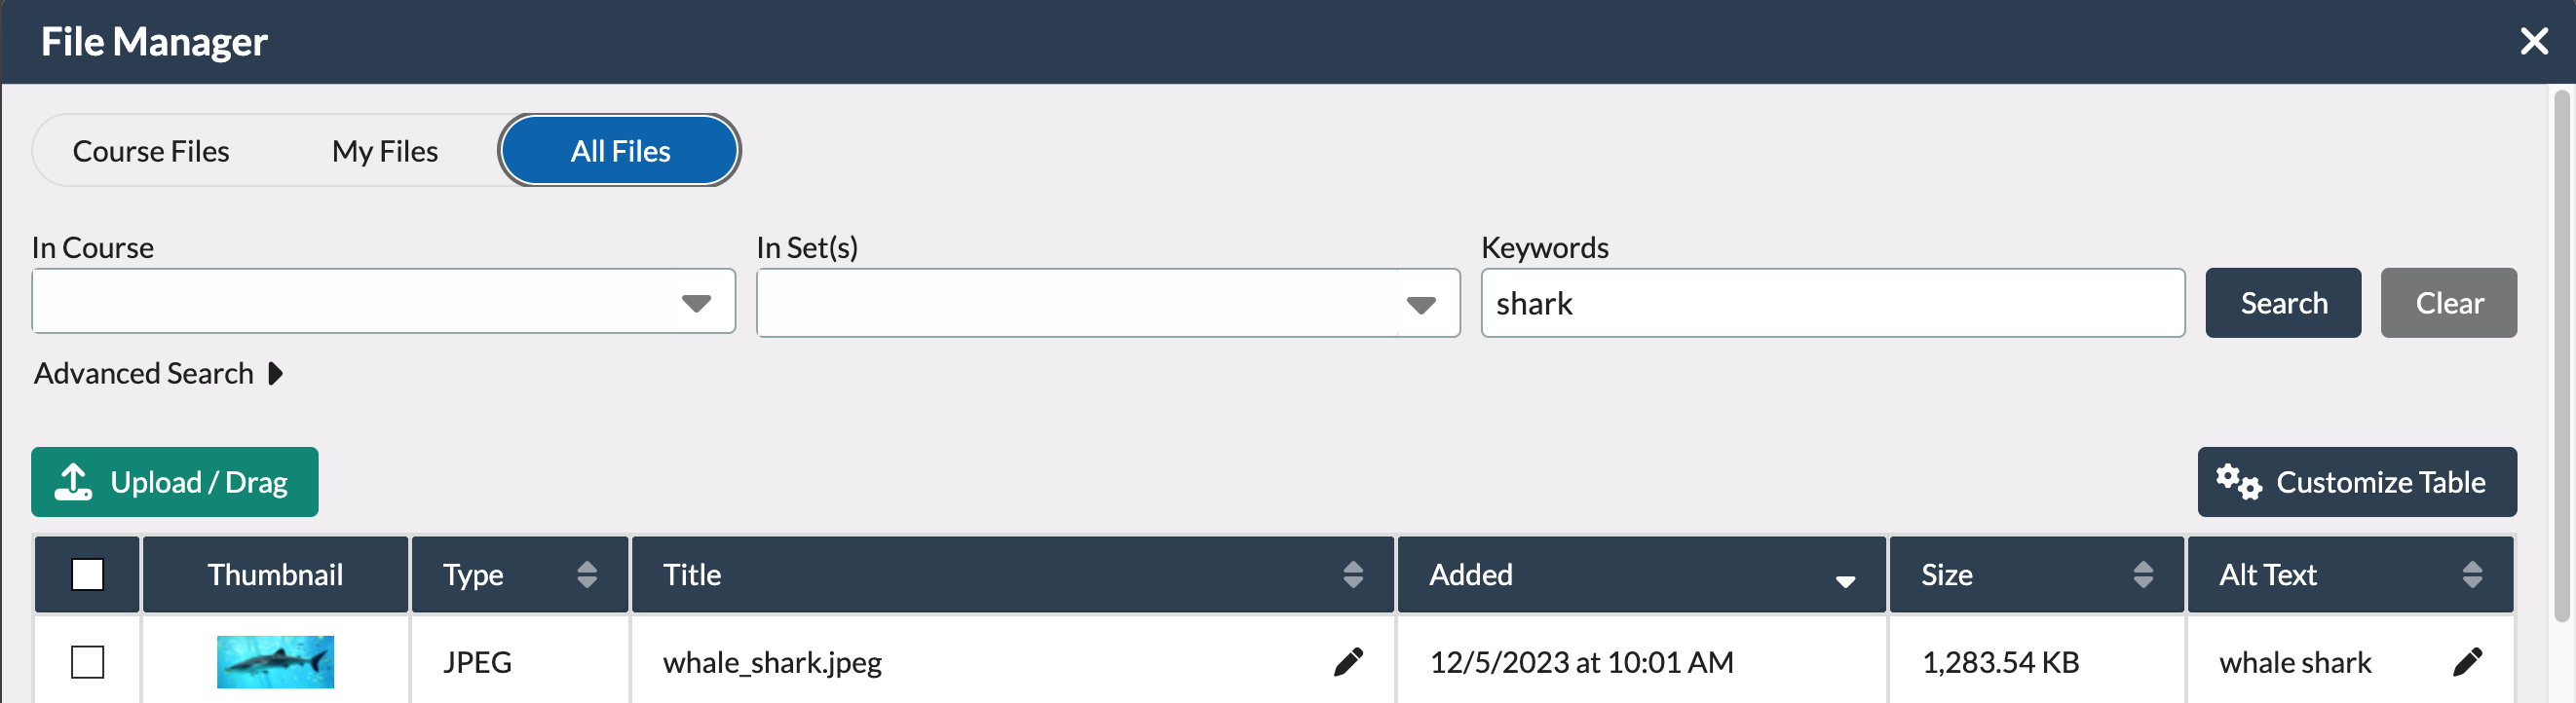
- Select the checkbox next to the desired image and then Choose.
- The Add Image form reappears with a preview of the selected image. If alt text was added in the File Manager, it will automatically populate in the Alt Text field. You can edit this text if desired for the purpose of the image on this page.
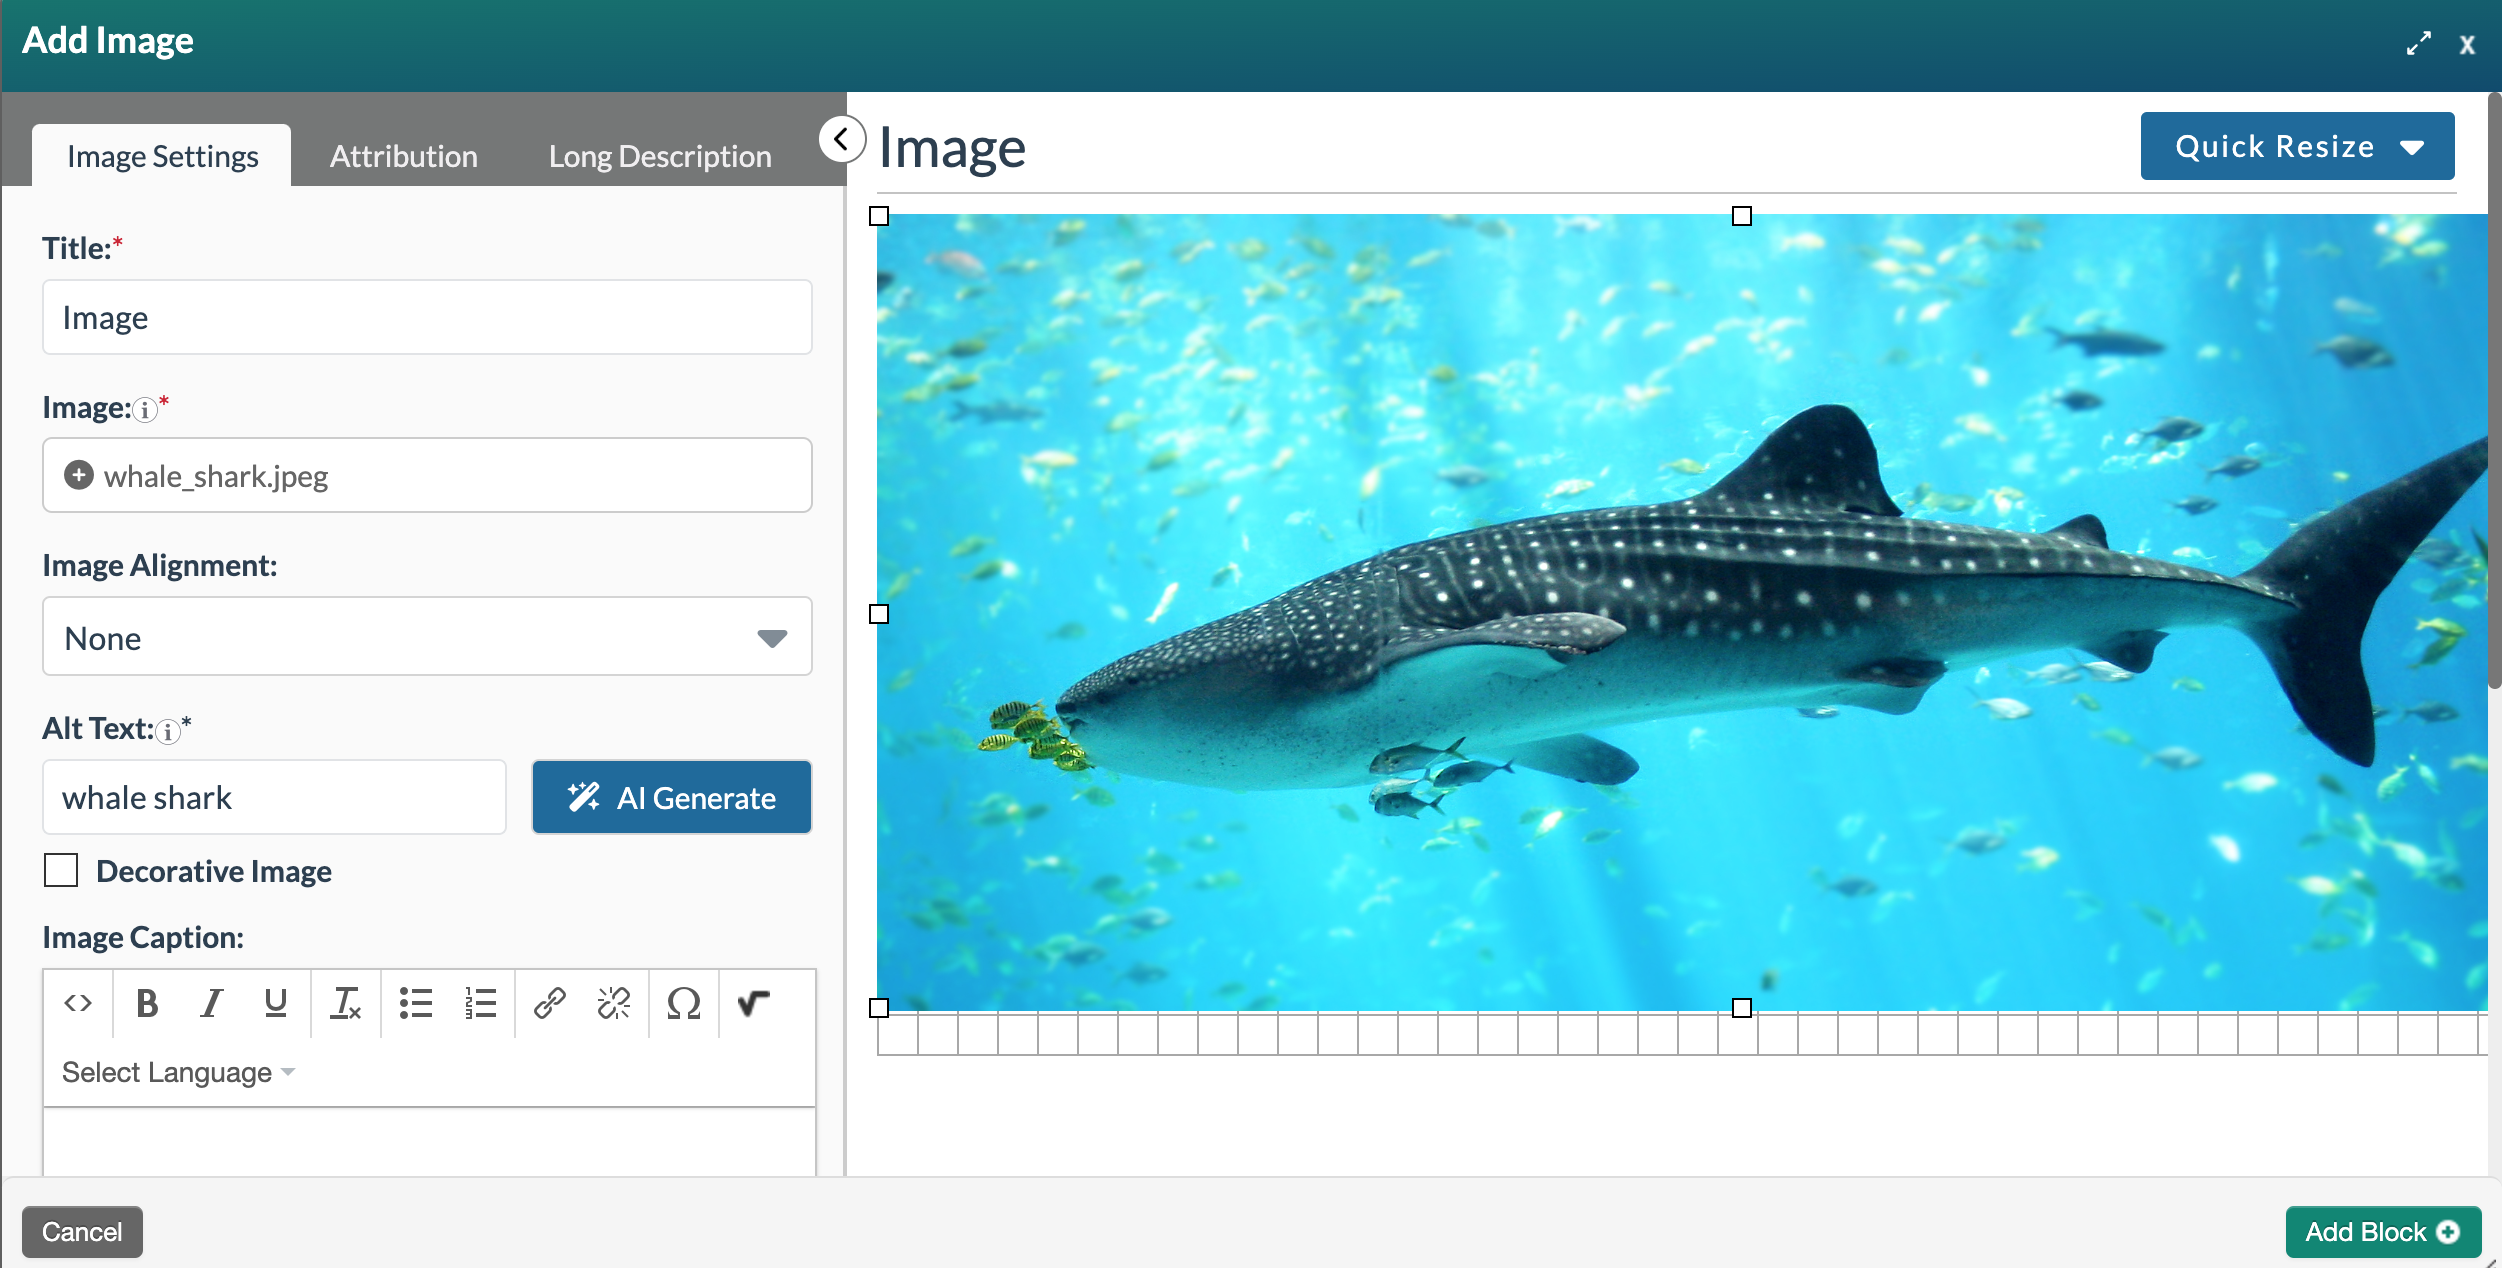
- Image Settings: Complete the remaining image settings with the following information:
- Title:* The default title is Image. Enter a clear, descriptive title. Block titles will appear in the Insert Block dropdown when adding the image to tabs, accordions, or quiz blocks, and may also display in student-facing areas of the course, such as activity names in the Table of Contents.
- Image Alignment (Optional): Select the desired image alignment. See How do I align an Image block? for additional information.
- Alt Text:* Describe the image by telling viewers as much as possible about the image, using as few words as possible. (If you have access to the AI Toolset, you can generate alt text.) The purpose of alternative text is to allow the content or purpose of the image to be revealed to someone with visual or cognitive disabilities. Alt text is not visible to learners—it is only read aloud by screen readers. To learn more about alternative text, visit WebAIM's Alternative Text.
- Decorative Image (Optional): If an image is decorative, check the Decorative Image box so that the alt="" tag is set for the image. Additionally, the aria-hidden="true" tag is set so that the image attribution and caption are not read by screen readers. To learn about decorative images, refer to WebAim's Decorative Images.
- Image Caption (Optional): Enter a caption for the image. The caption will be visible to all viewers.
- Link (Optional): Enter a URL if you want the image to link to another page.
- Image Width: Edit the width if needed, in pixels, for the image.
- Zoom Image? (Optional): Check the box if the image should open at its original size in a new window. (For example, a detailed map might be helpful to see in a larger size, but you may want a smaller version on the content page.)
- Border (Optional): Check the box to add a border around the image.
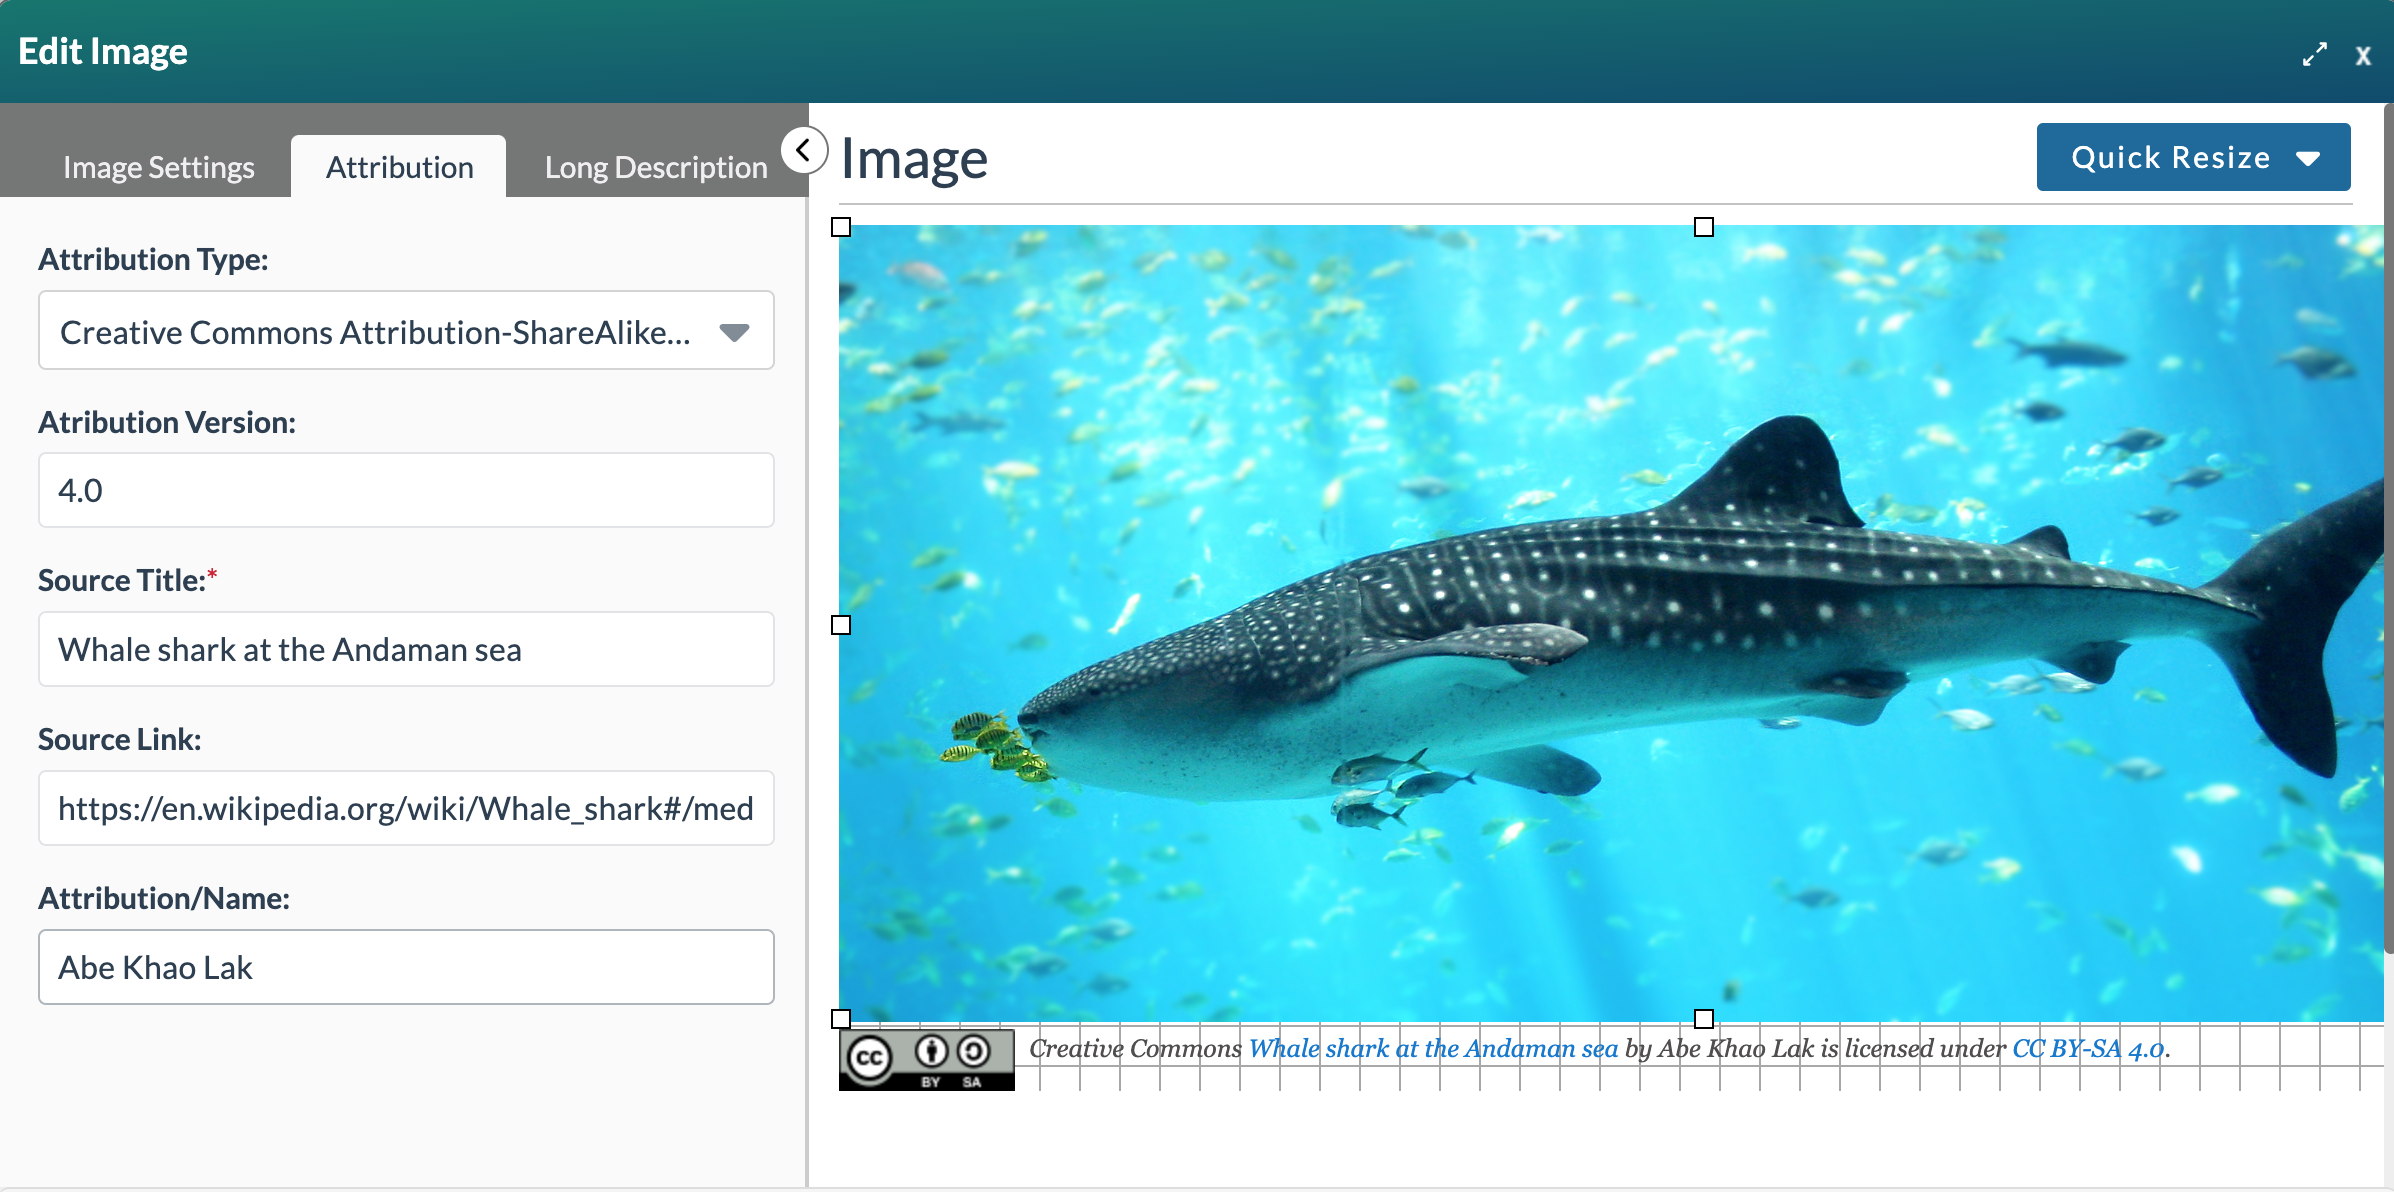
- Attribution: The Attribution tab allows you to give proper credit to the original creator of the image and, if applicable, comply with the license under which the image is shared. Complete the Attribution tab with the following information:
- Attribution Type: Select a type from the dropdown menu. If Creative Commons Attribution is chosen, the Attribution Version field will appear.
- Attribution Version: Enter the version for Creative Commons attributions.
- Source Title: Enter the title of the work.
- Source Link: Enter the URL of the original work.
- Attribution/Name: Enter the name of the creator (person or organization).
- Long Description: Complete the Long Description tab for complex graphics that require a more detailed explanation. Refer to How do I add Long Descriptions/Image Transcripts to images for more information about long descriptions.
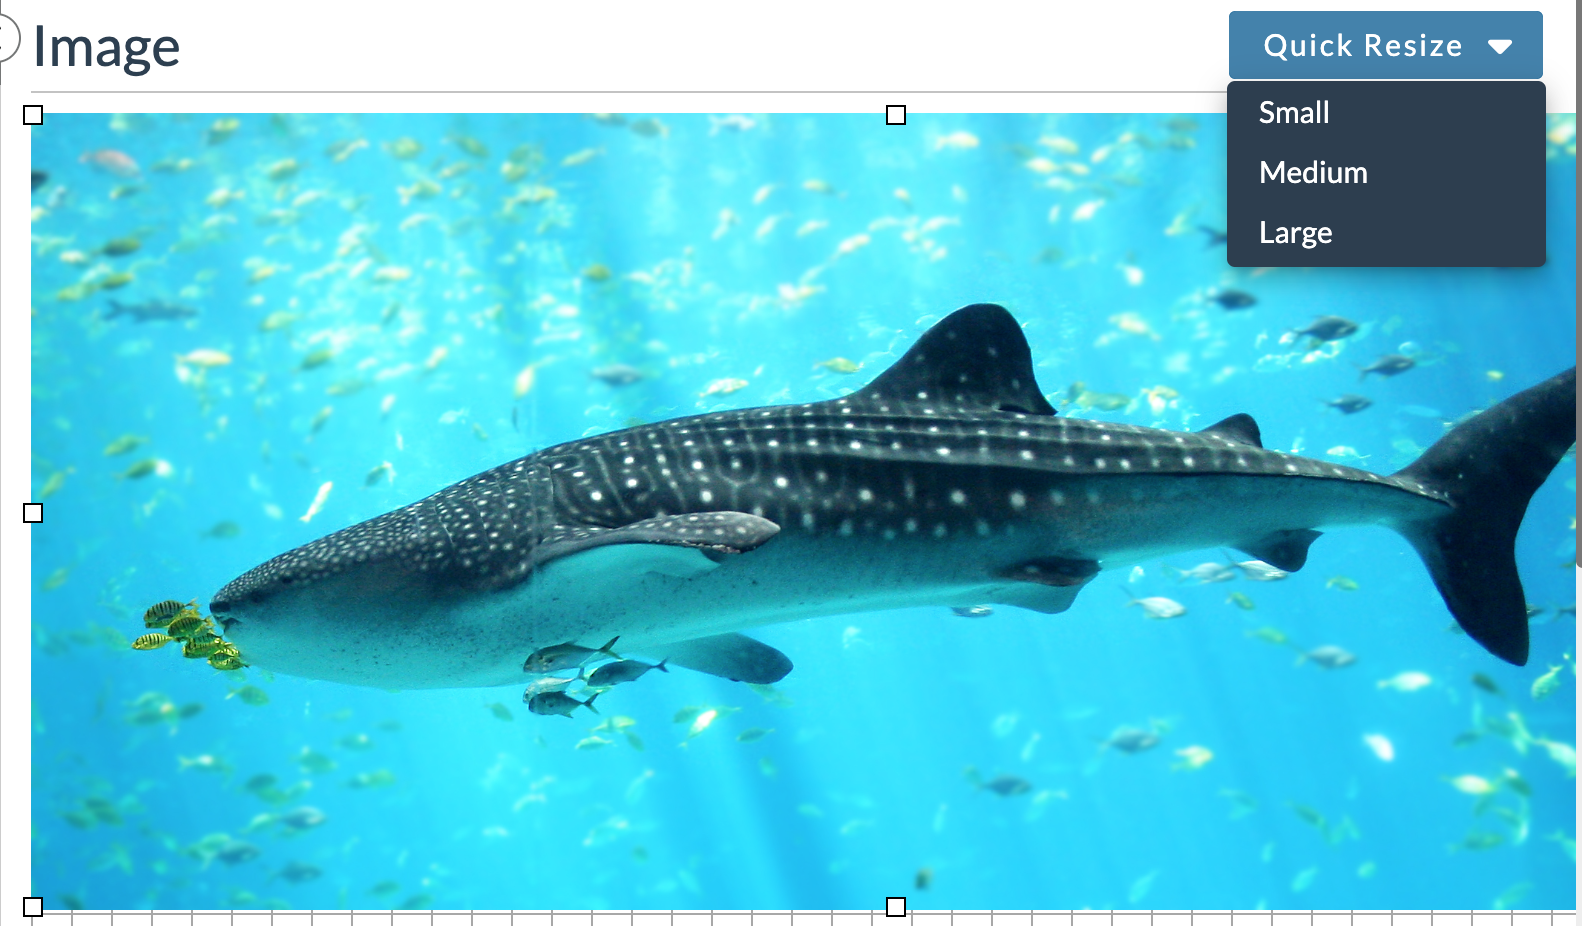
- Use the Quick Resize dropdown menu in the preview area to change the pixel width or click and drag the corners of the image to resize manually.
- Once all the required sections have been saved, select the Add Block+ button to save the block to the page.
- The new block will appear on the page in Edit Mode with a red, dotted outline indicating it's editable.
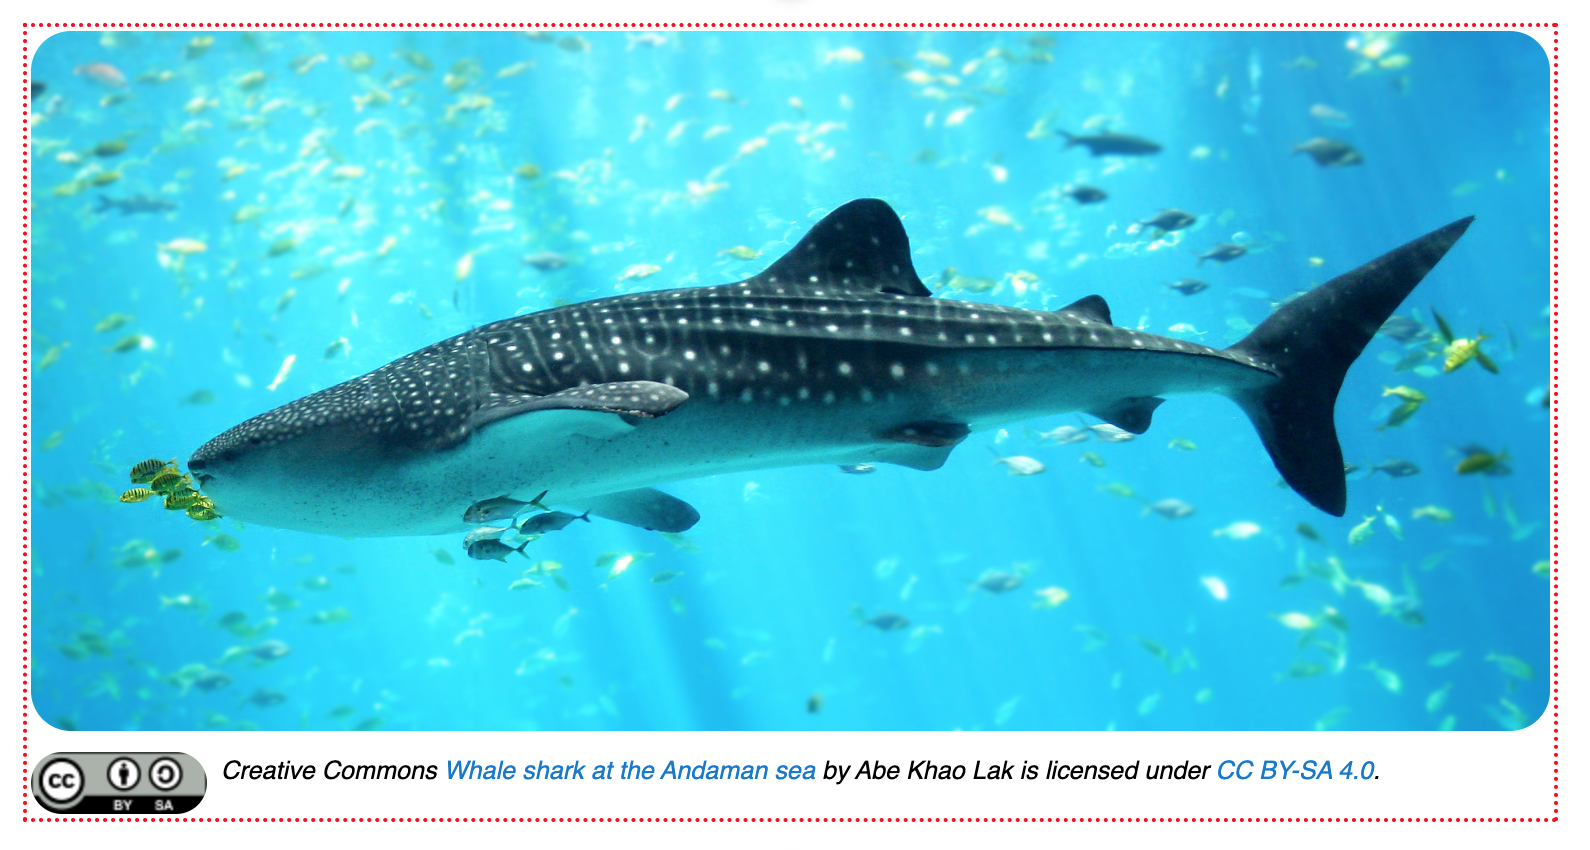
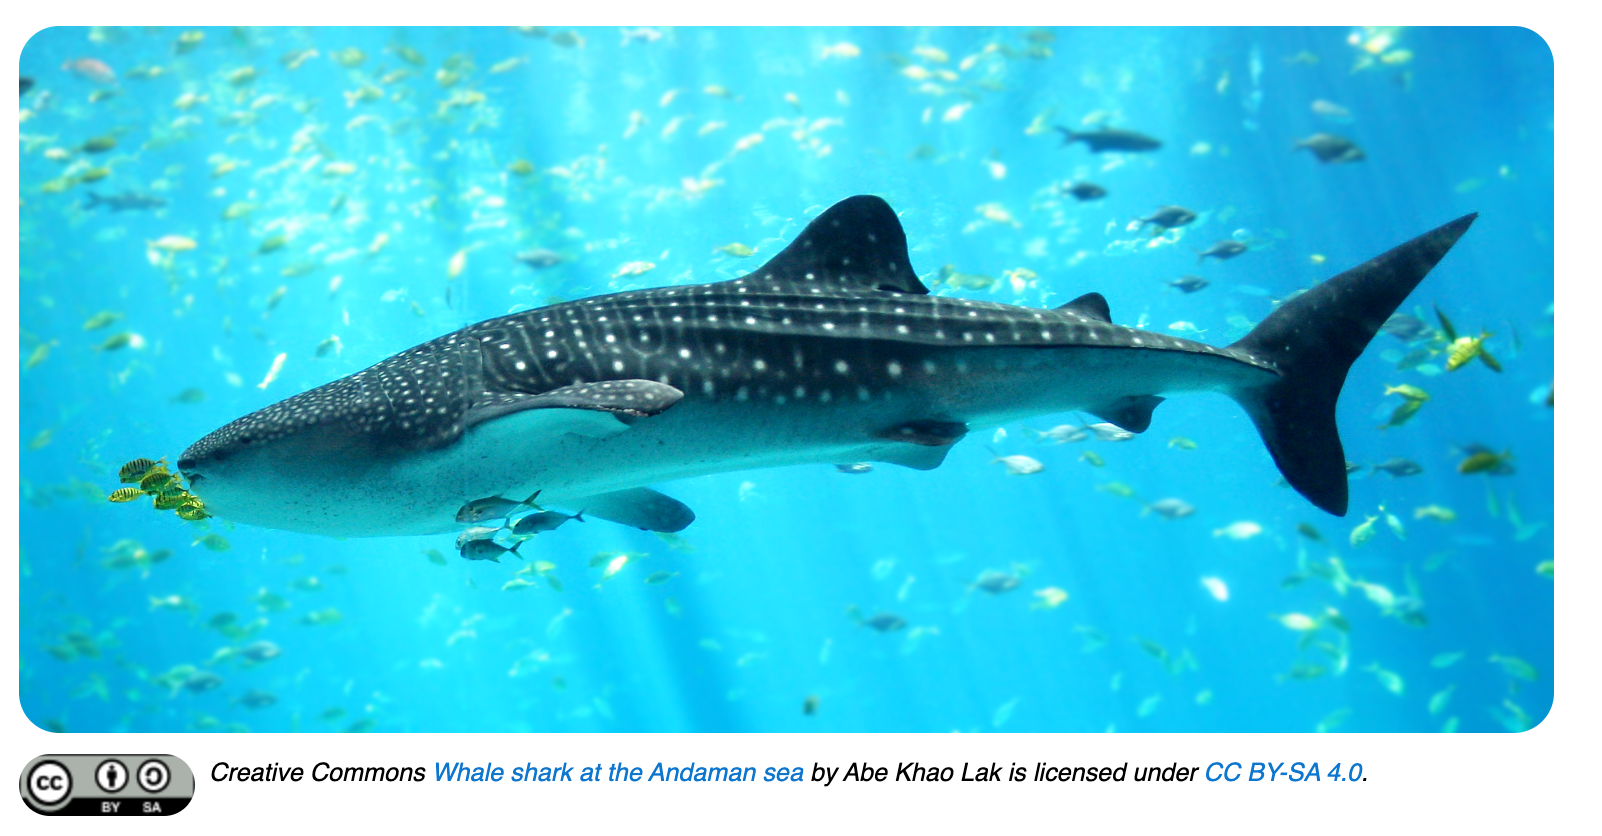
- Select the Publish My Edits button to save the block to the course page and see the content as it will appear to learners.
How do I align an image in an Image block?
How do I give credit for a piece of work using the Citation block?
How do I link to a file?
How do I upload files to the File Manager?
Was this article helpful?
That’s Great!
Thank you for your feedback
Sorry! We couldn't be helpful
Thank you for your feedback
Feedback sent
We appreciate your effort and will try to fix the article